The first true car project/modification I ever did by myself was mounting a 7″ LCD VGA with a touchscreen inside a center console using epoxy and fiberglass. The screen will be used together with a PC in the car. Media center, GPS navigation, WiFi, and mobile hands-free are the main features I want to have in my car. The monitor I used was a Lilliput 7″ LCD with a touchscreen bought from www.mp3car.com, a site that I recommend to all Carputer fans. Yes, Carputer—that’s how a PC in the car is called. More info about that at www.mp3car.com. The first step before you buy a monitor is to check that it will fit in your car. Yeah, I know it sounds stupid, but I talked to people who bought the monitor just to find out it is too big.
Step 1:
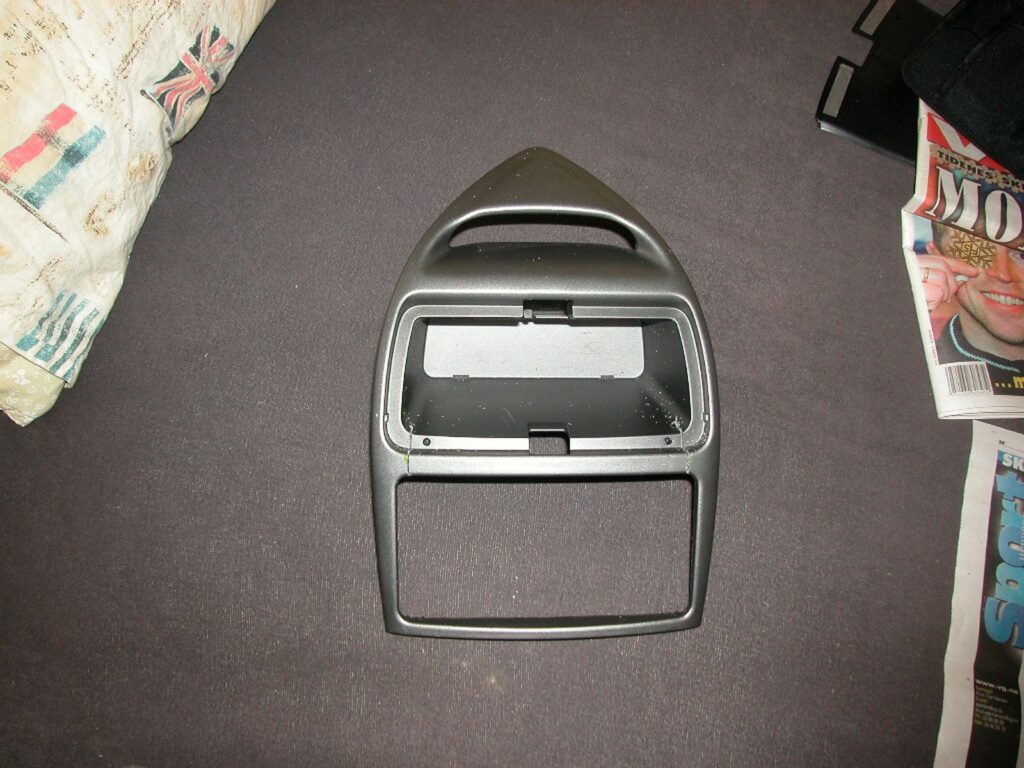
- Dismount the center console from the car.
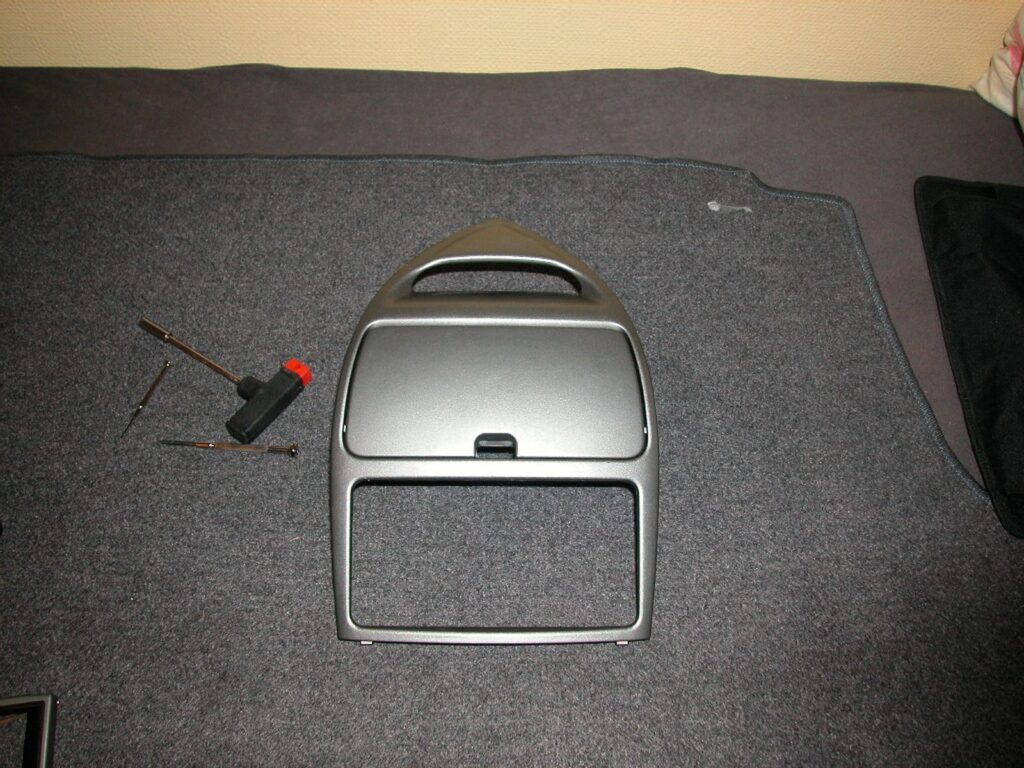
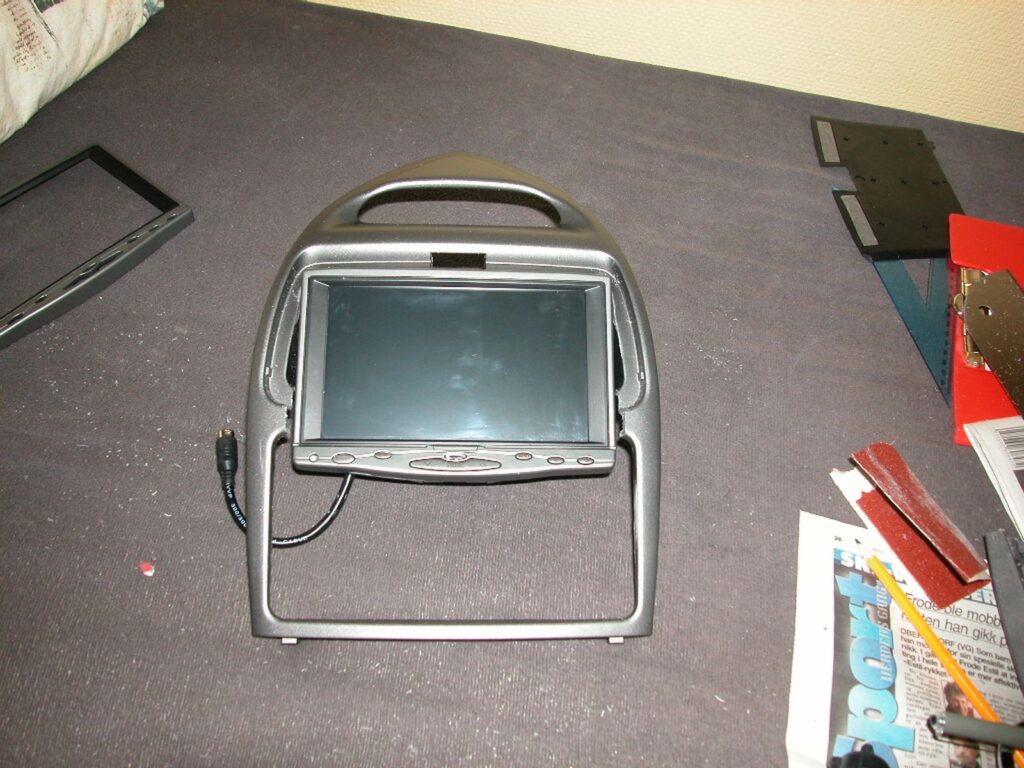
- Dismount the LCD from the frame or buy an LCD body, that’s what I did.
- Dismount the front locker for a storage box.
Step 2:
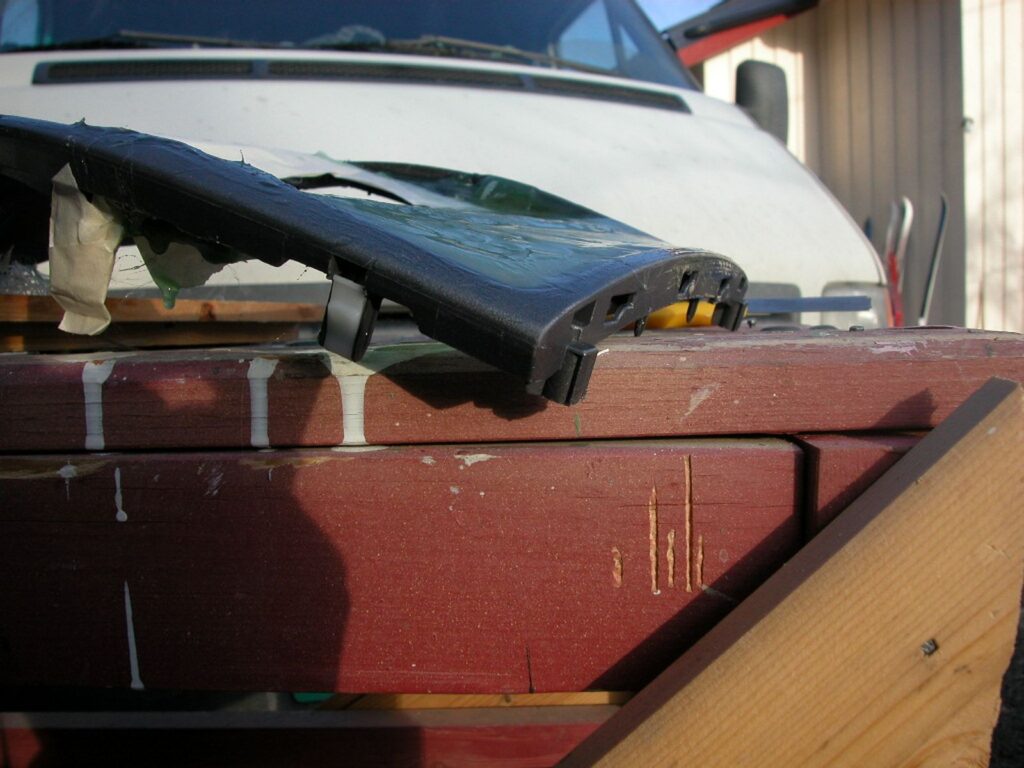
- Measure carefully the placement of the LCD and mark where to cut.
- Start cutting. Don’t be afraid; you are going to use epoxy and fiberglass compound, so any scratches and stuff like that will be fixed later.
Step 3:
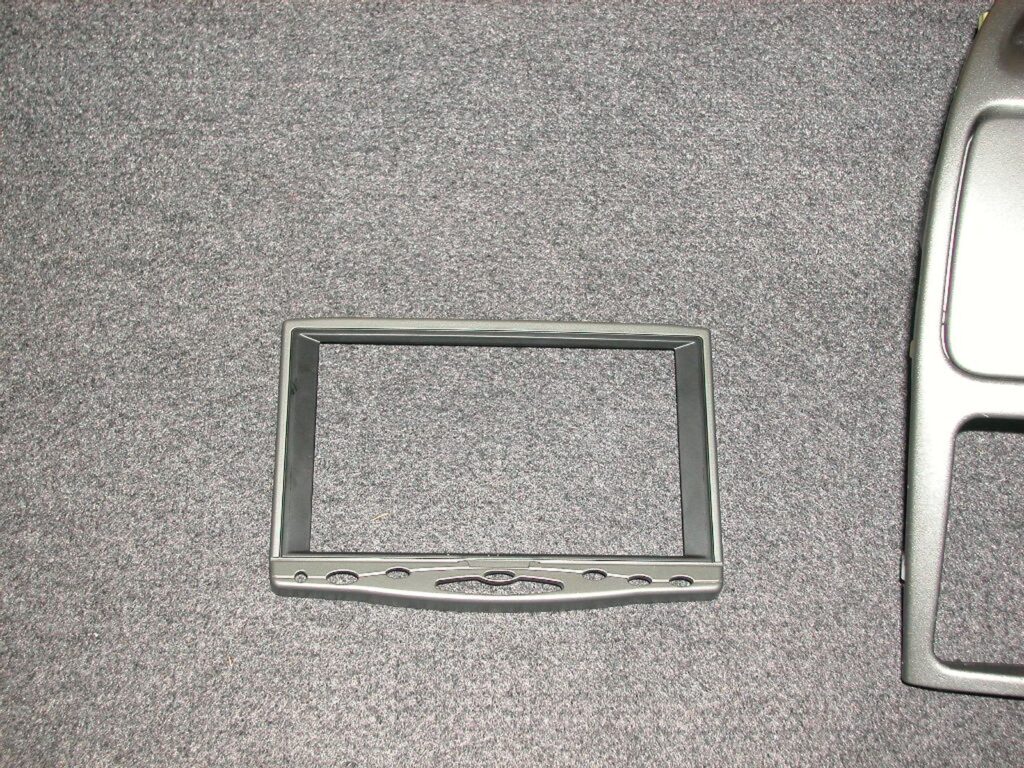
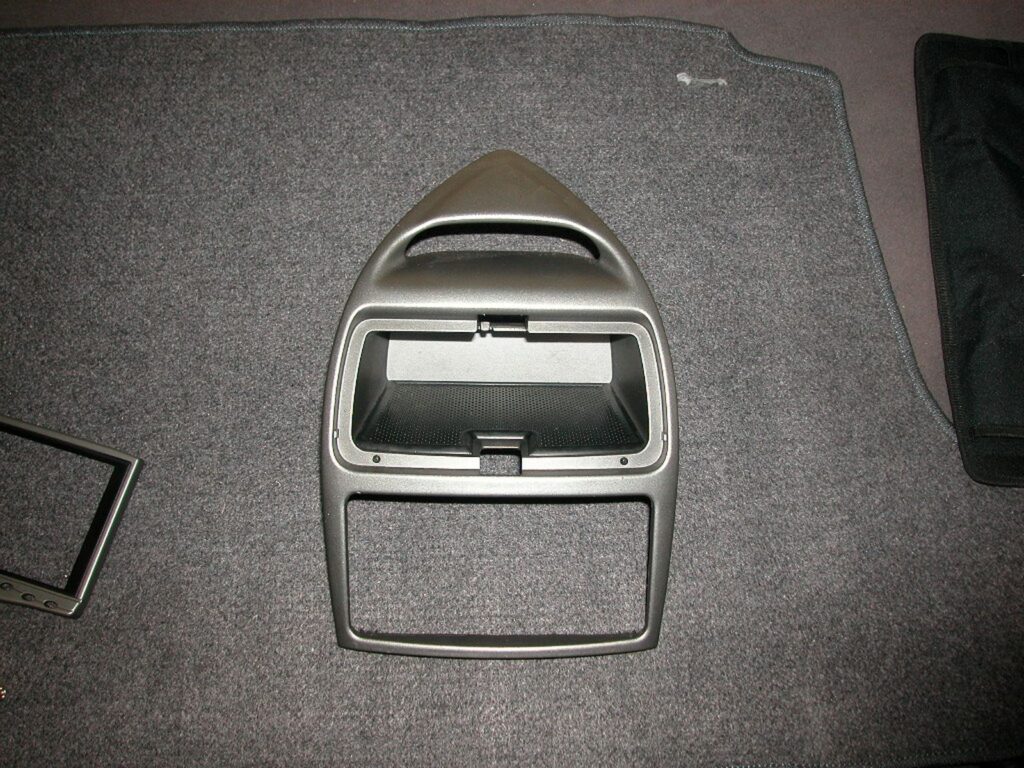
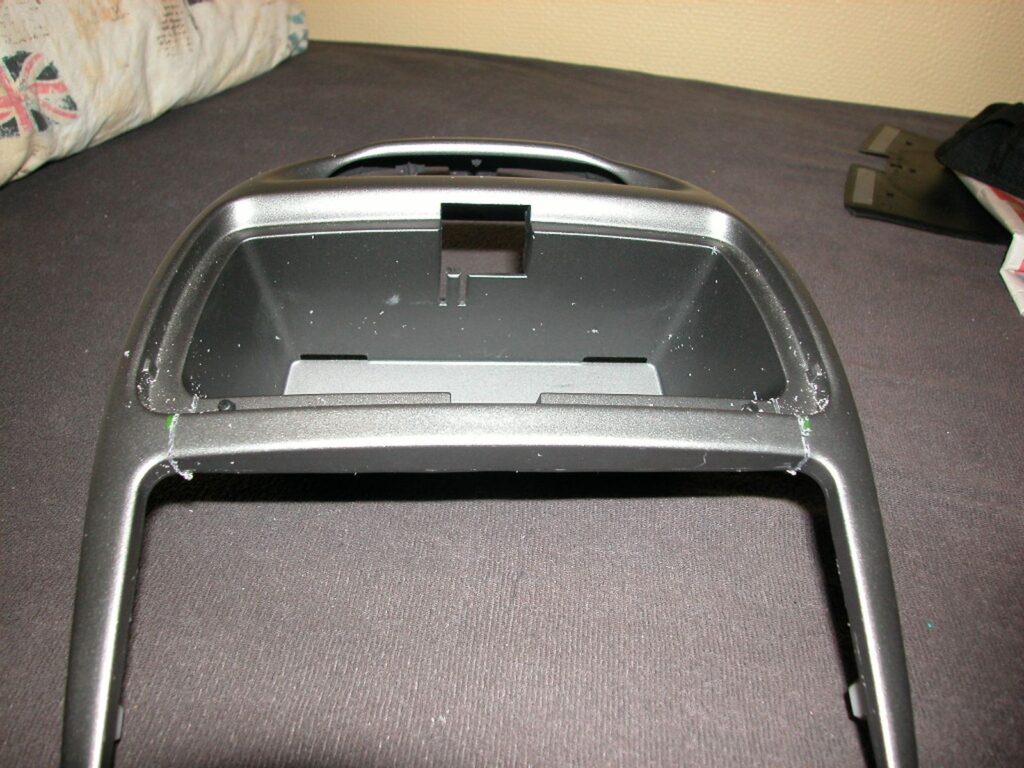
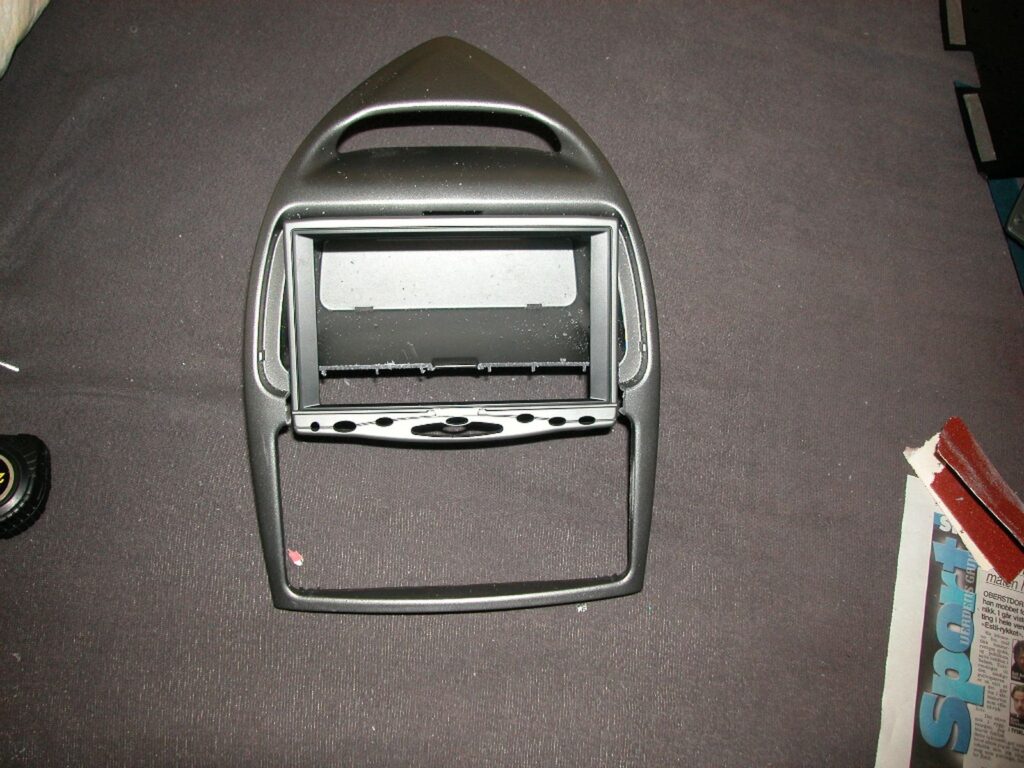
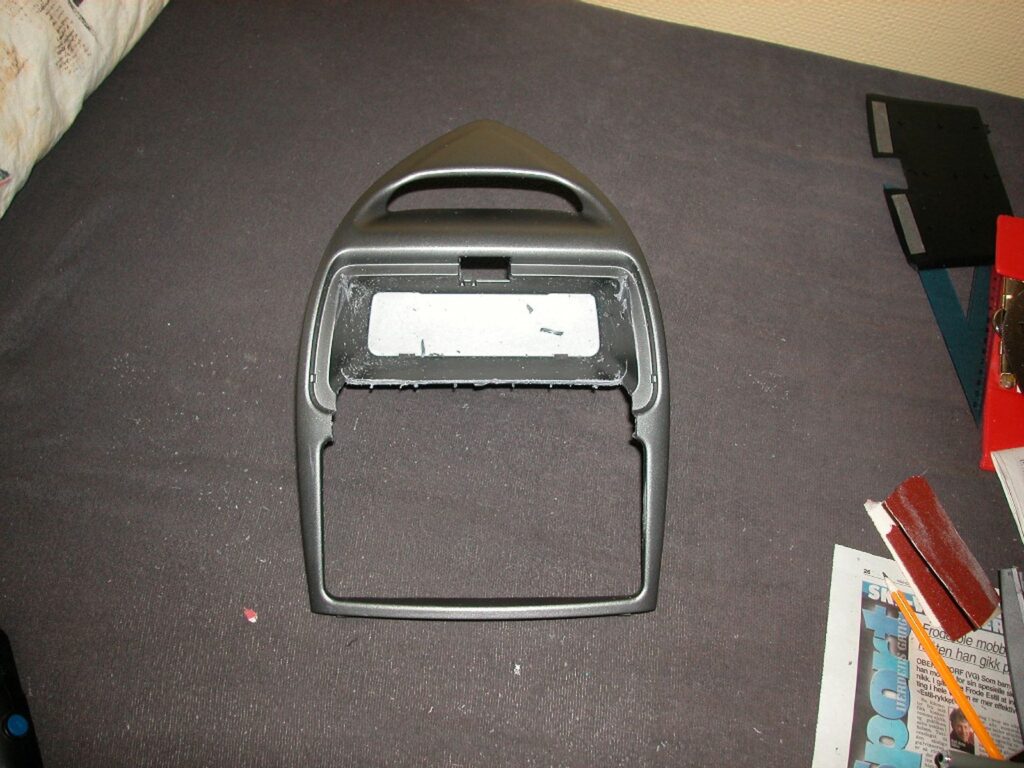
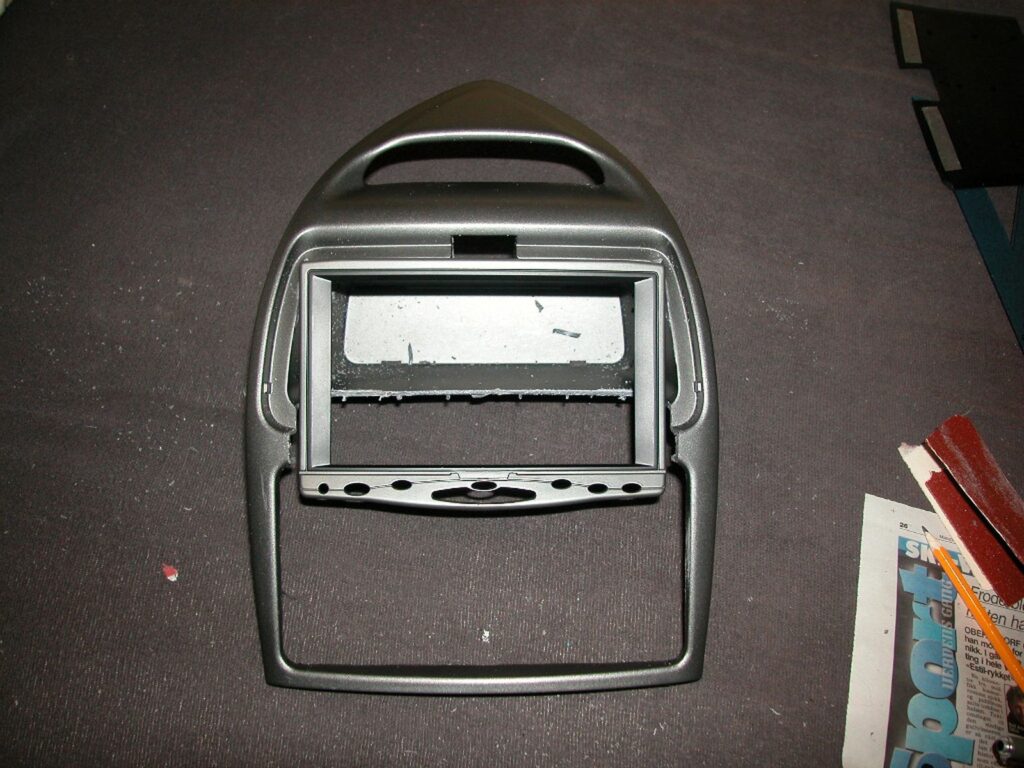
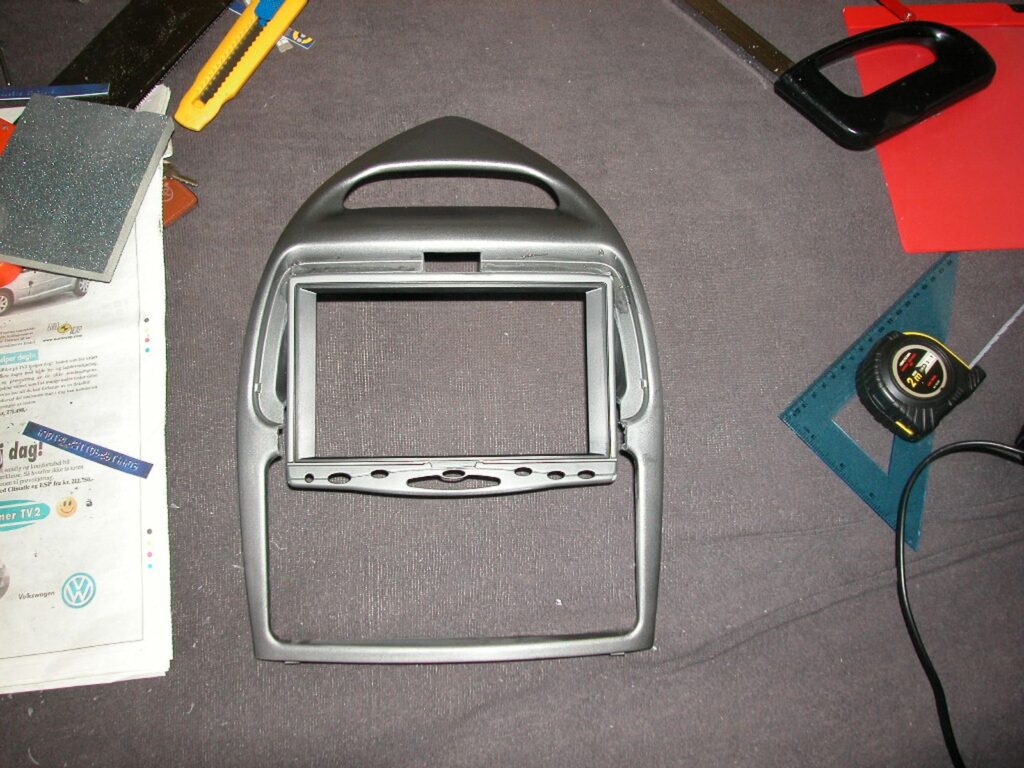
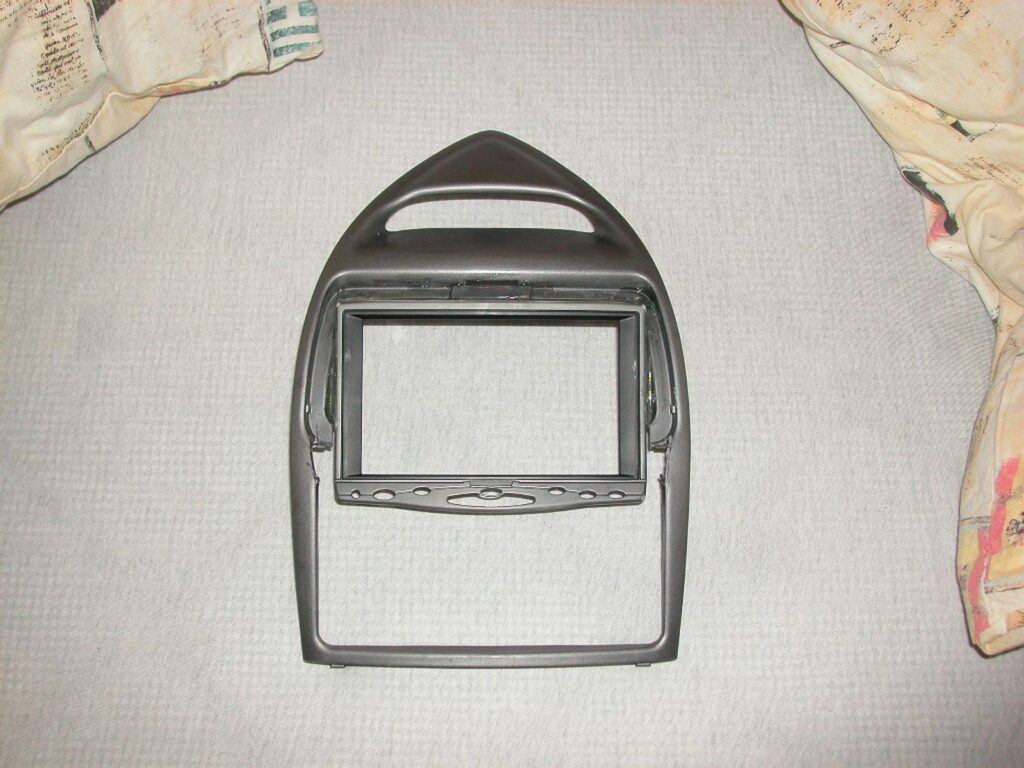
- You should now get rid of the front part.
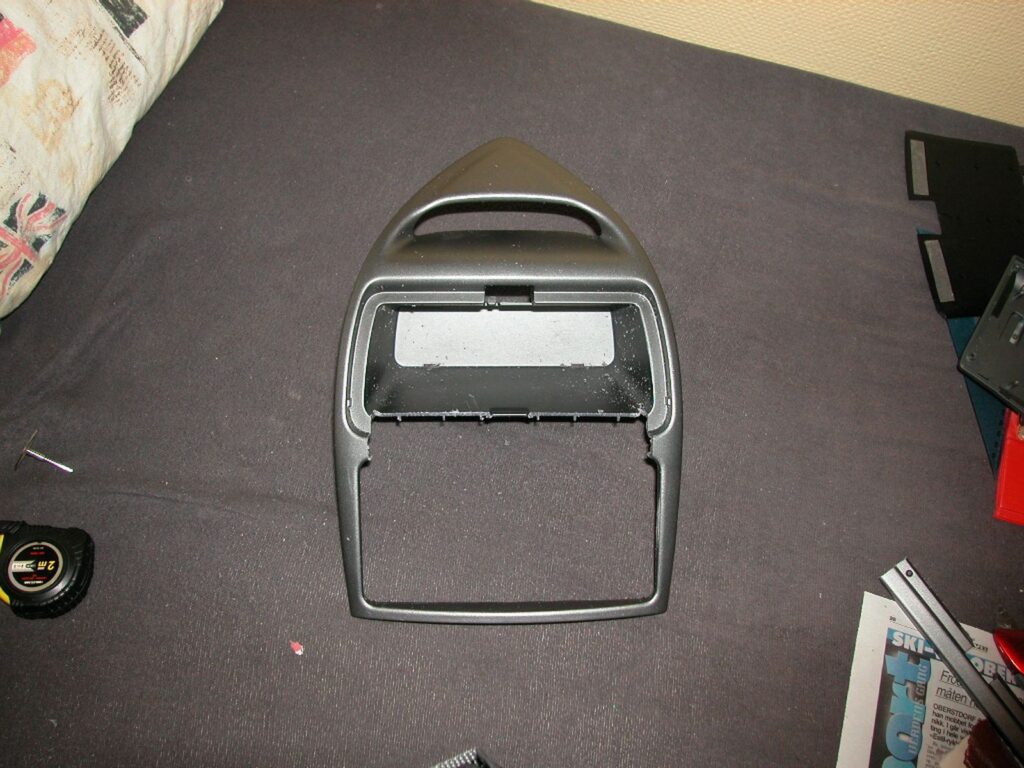
- See if the LCD frame fits well. If you need some adjustment, do so now.
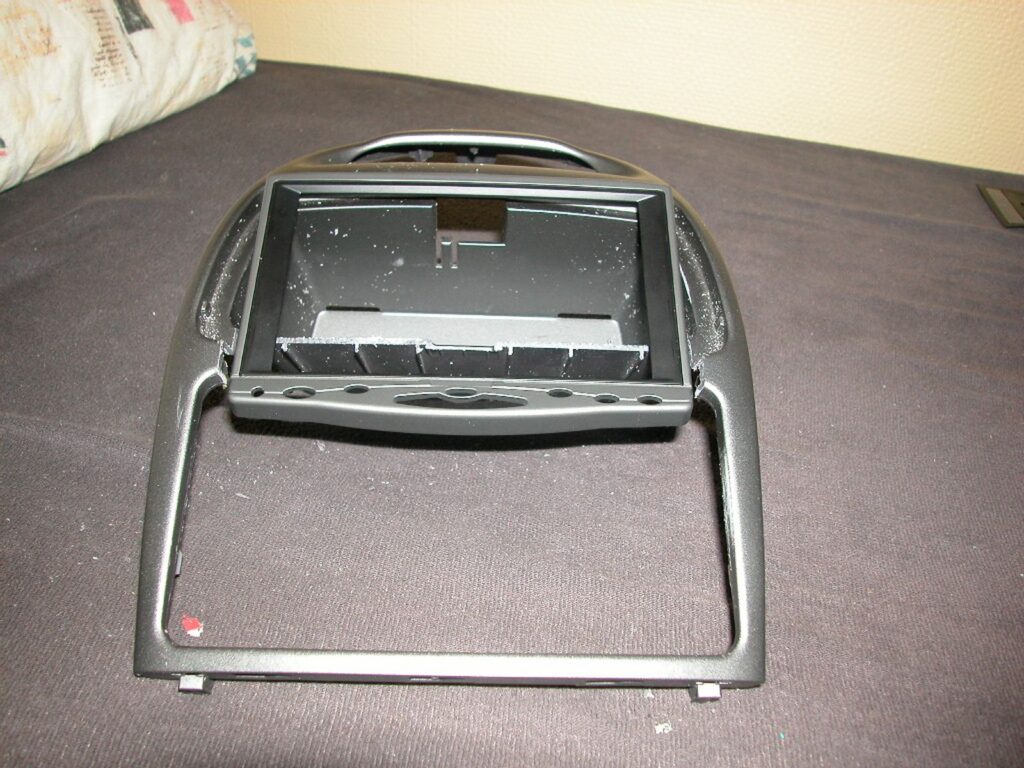
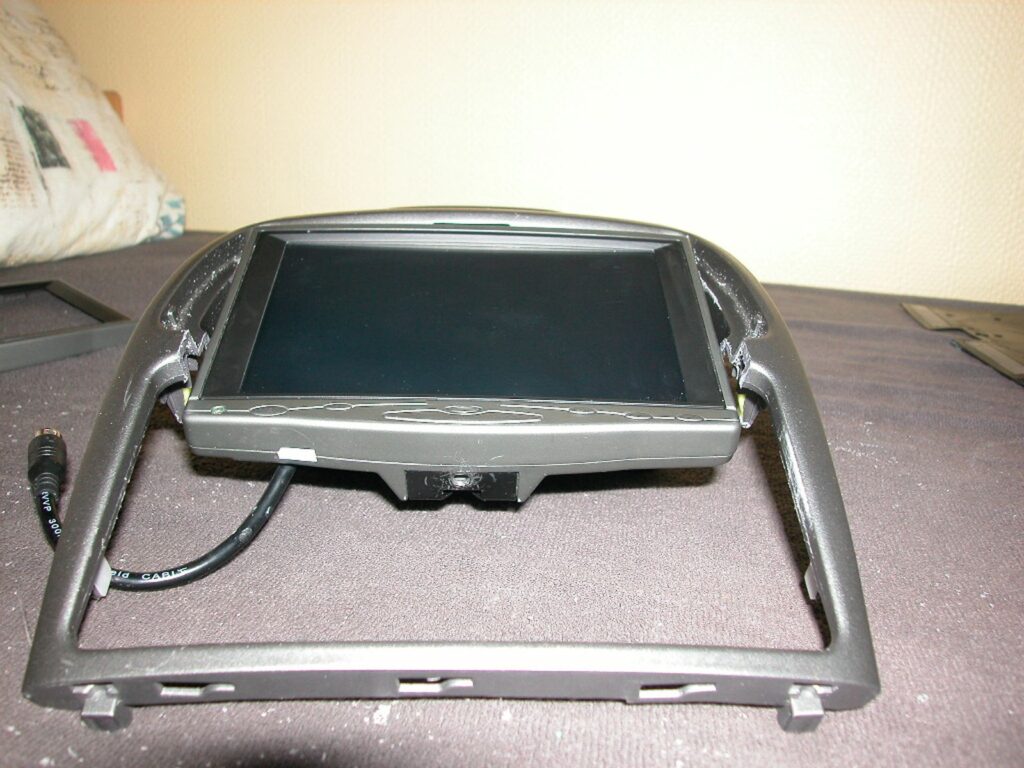
- Here is how the console looks just before gluing the LCD frame to it.
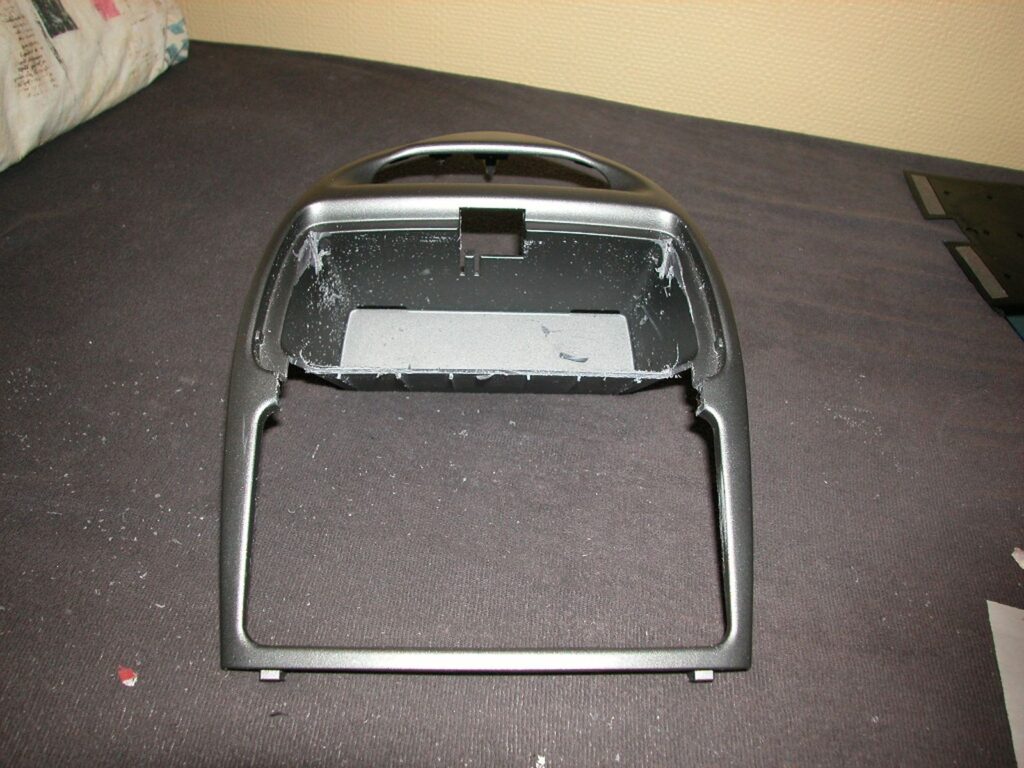
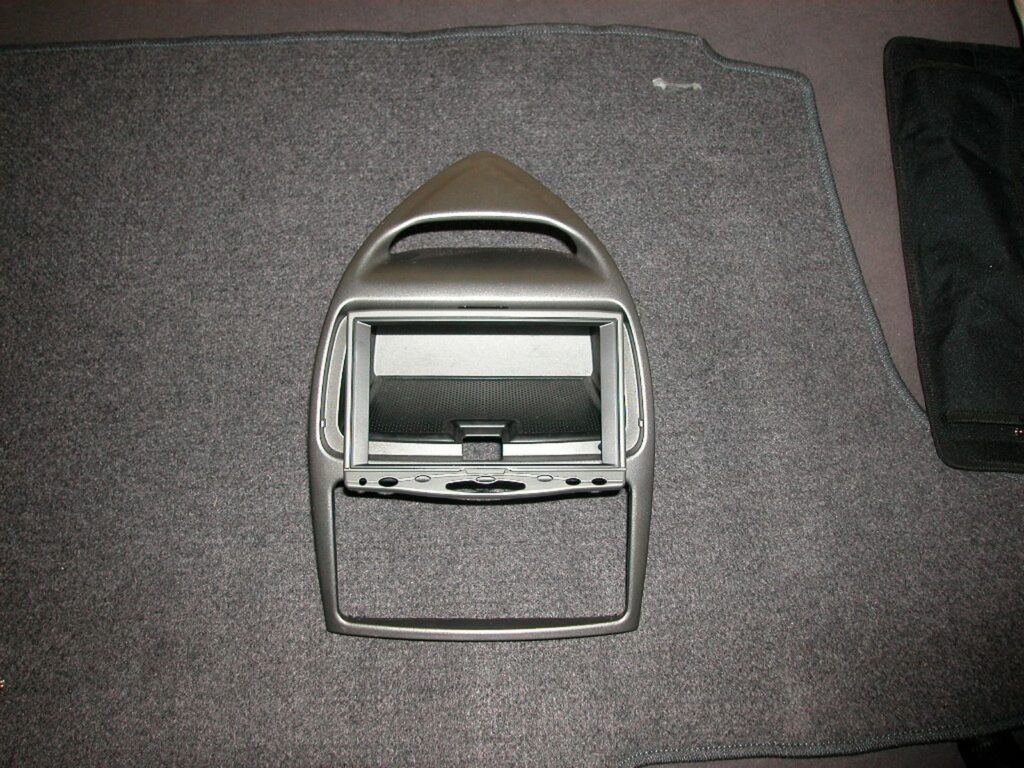
- Some last tests with the frame and the screen.
Step 4:
- Take 5 min epoxy (you can use 10 or 15 min too) and glue the screen frame on the top edge and on the sides.
- After that, fill the gap between the frame and console with epoxy.
Step 5:
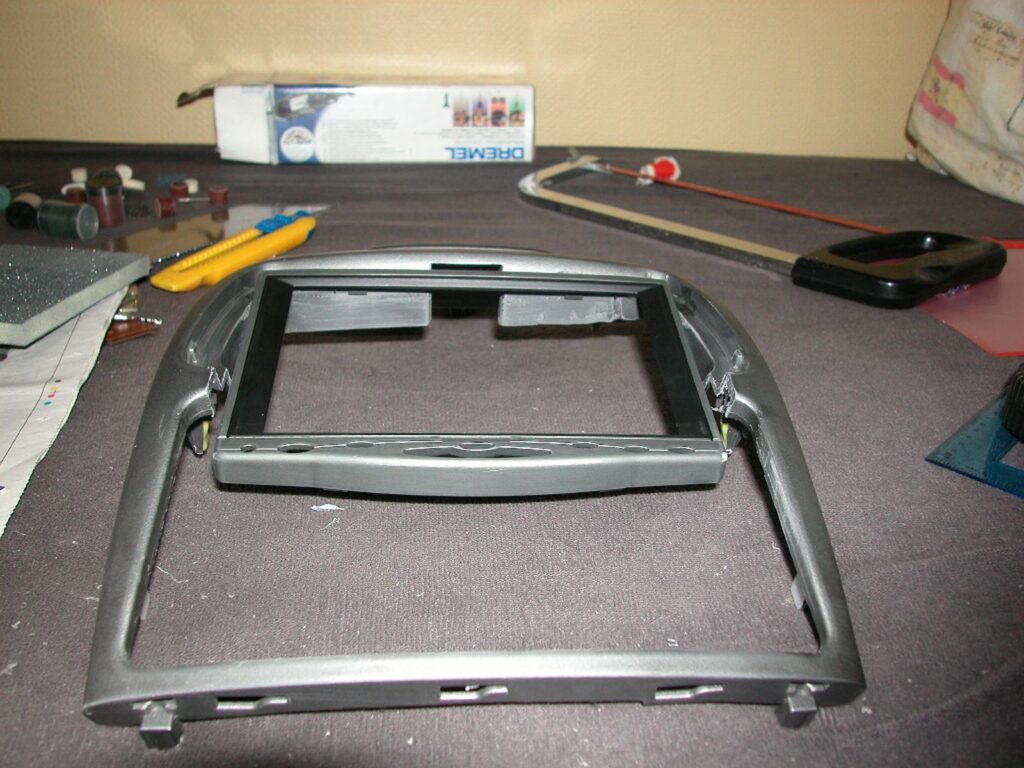
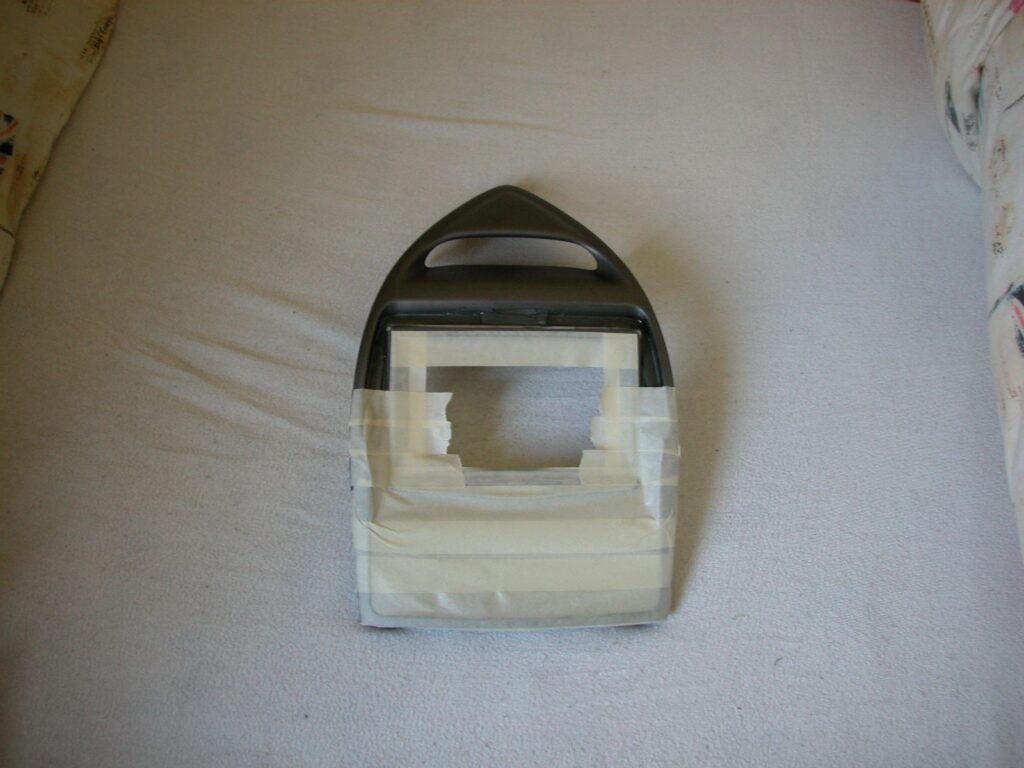
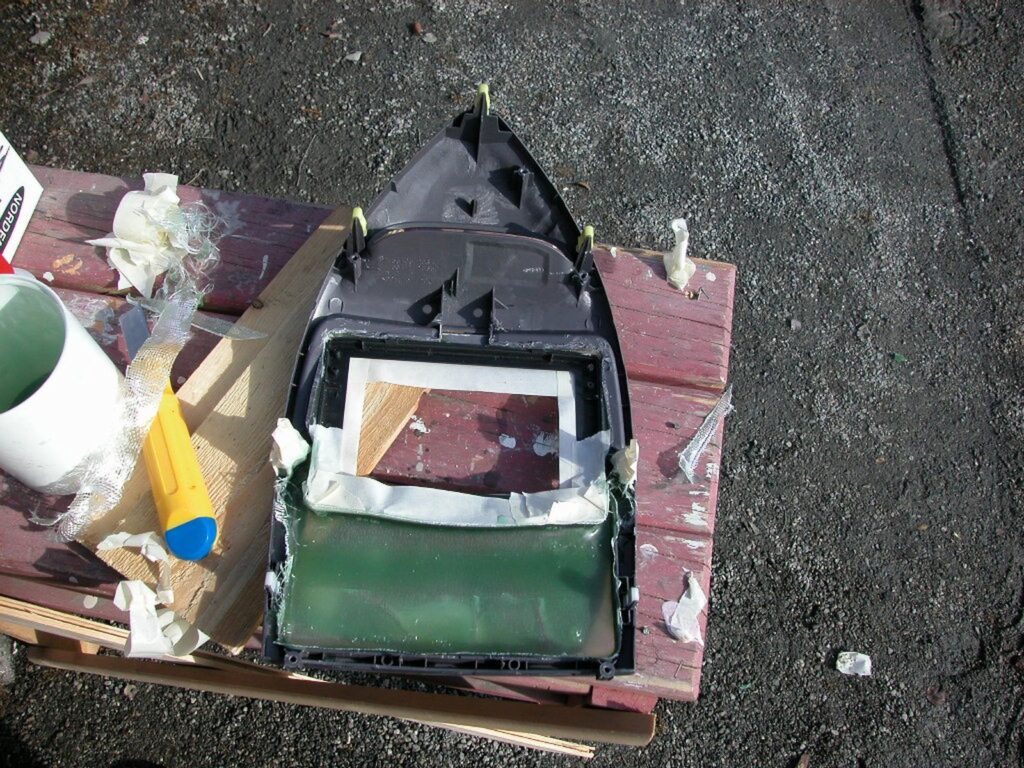
- Use regular masking tape on the front of the center console. This will give you support for fiberglass. You will fill it from behind. Try to tension the tape to create as even a surface as possible.
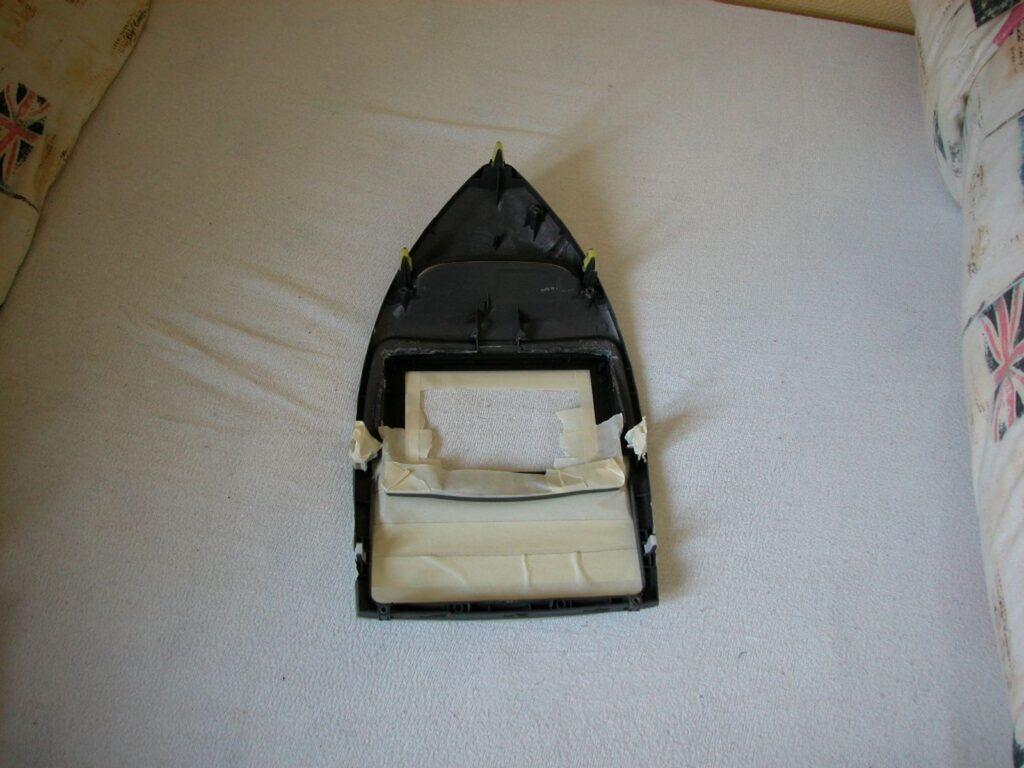
- That’s how the masked console looks from behind. Again, it is from this side that fiberglass will be applied.
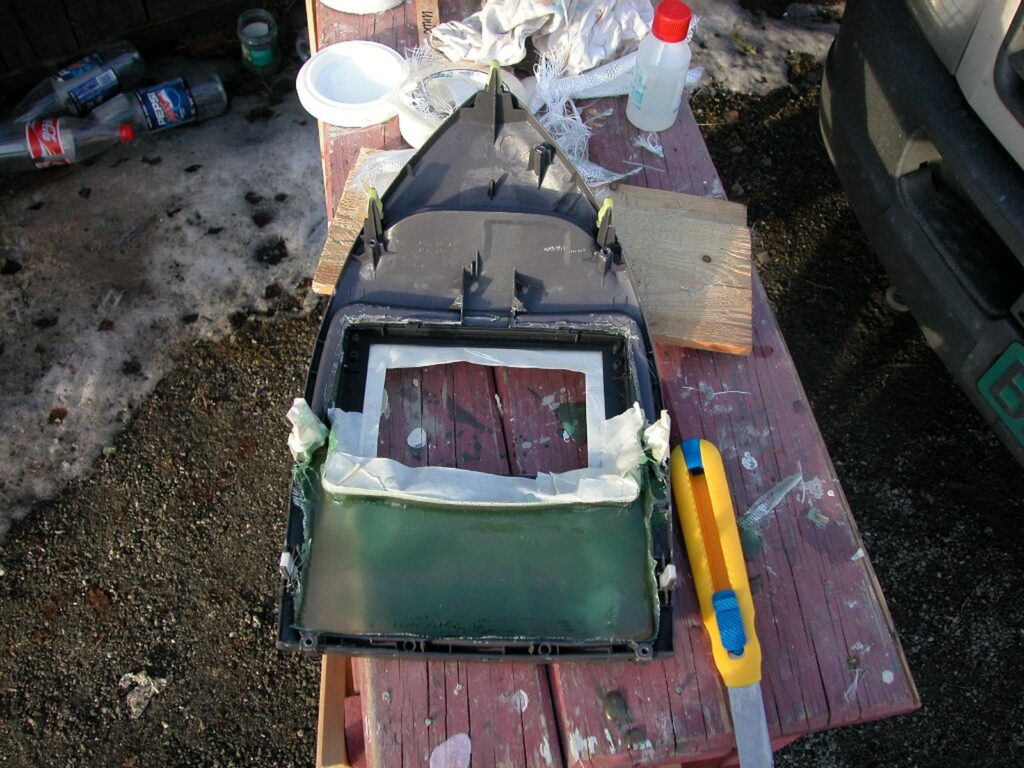
Step 6:
- Remember safety equipment. A mask is important because fiberglass resin produces toxic gases. Use gloves too.

- The first layer of fiberglass resin is applied.
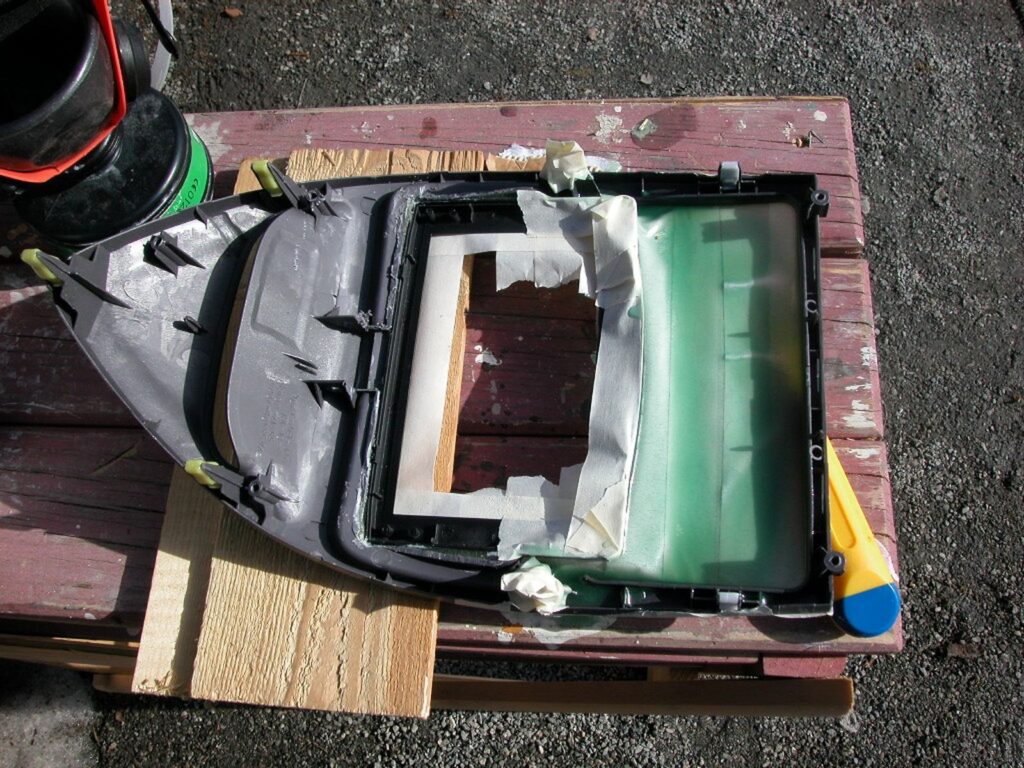
- The second layer is applied.
- More layers. You should reinforce the filled surface with some reinforcing material between every second or third layer. You should have at least one reinforced layer. I used one reinforced layer and 6 fiberglass layers.
- Finished applying fiberglass, view from behind.
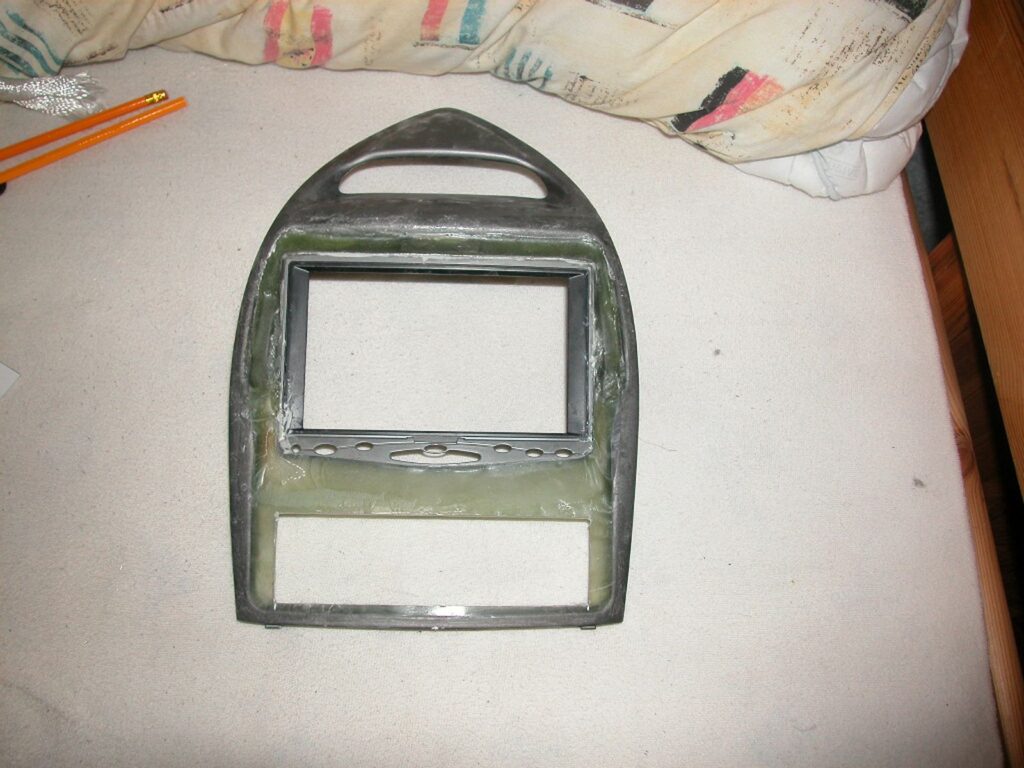
- Front view. You will probably get a rough surface. Don’t worry. A lot of sanding is waiting for you.
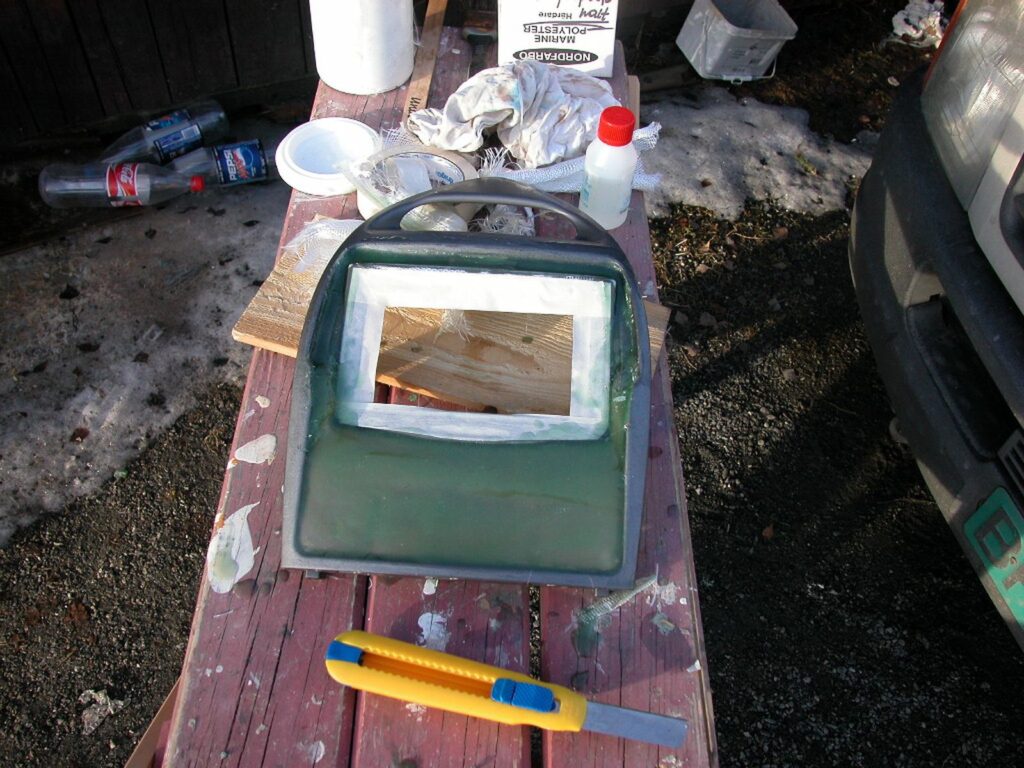
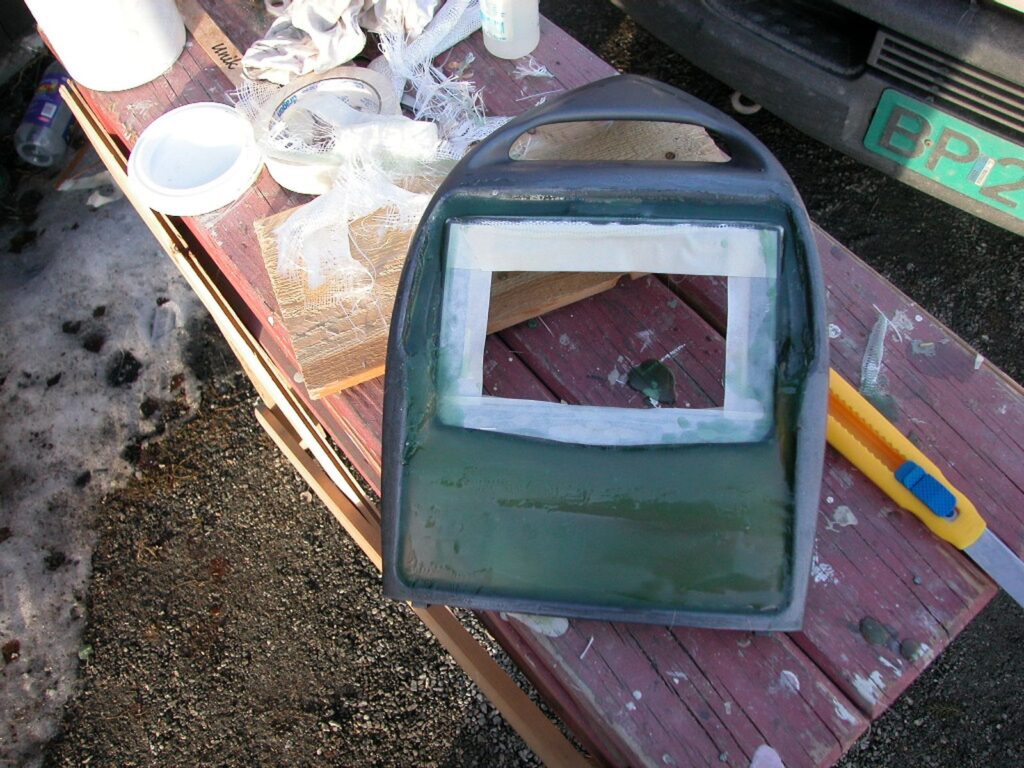
Step 7:
- Sanding has started. Here you can see the finished result of sanding the fiberglass.
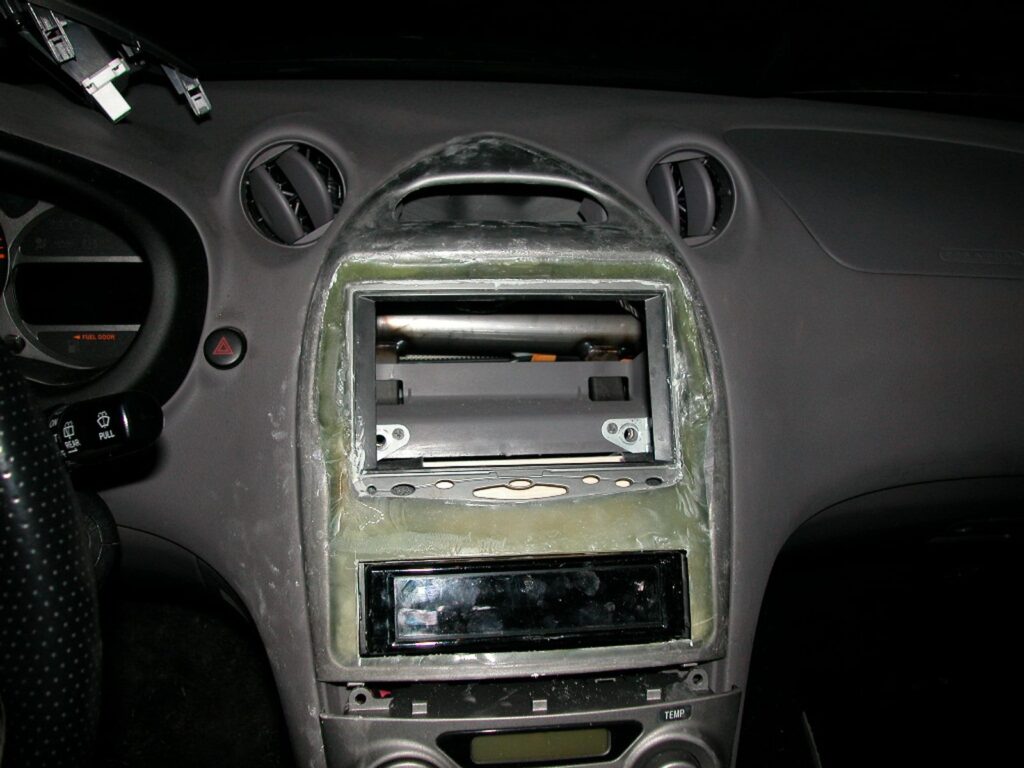
- Cut out the opening for the car stereo too.
- Some quick tests in the car, and it fits perfectly.
Step 9:
- Applying filler to get a smooth surface for the paint job. You can use regular filler used by any car paint shop. After the filler is applied, the surface will be very rough. Again, sanding is the key. Use very fine paper. Take your time; it is the key to success.

Step 10:
- Painting. I took with me a piece of the center console that I cut out and went to a paint shop. There I asked the guy if he could make a color for me. He had some skills and made a color that is 99.9% the same as the original color on the center console.
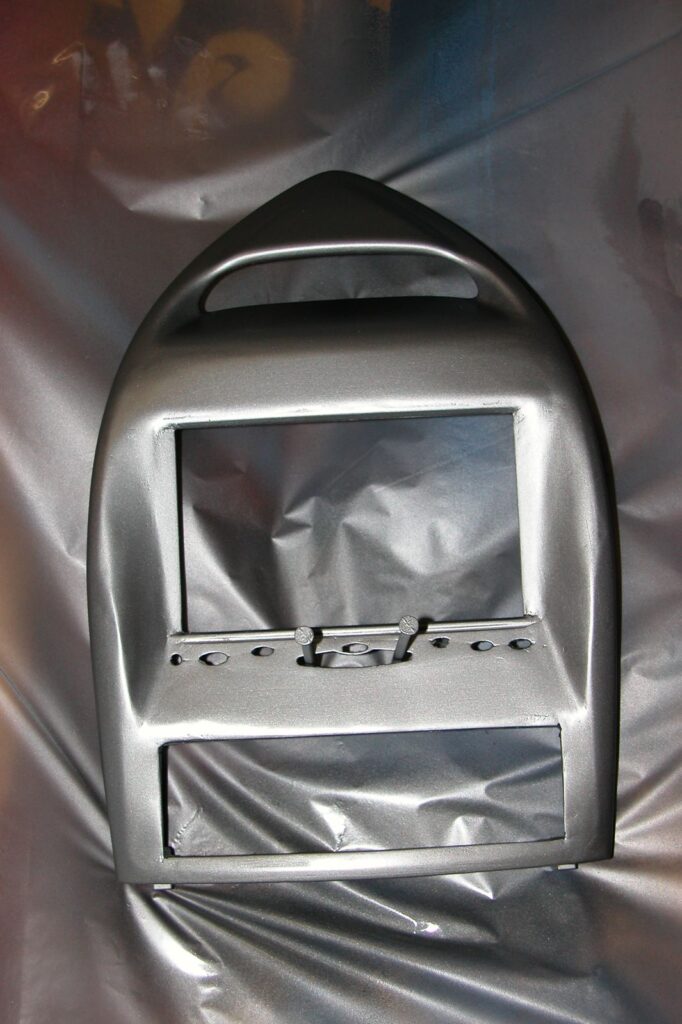
- Painted result.
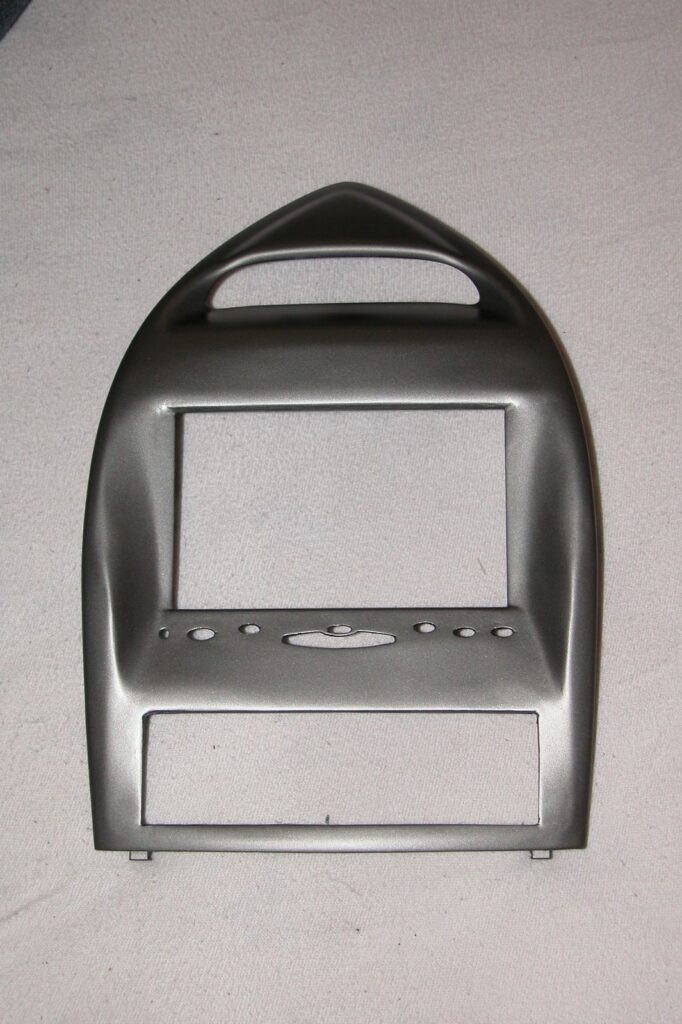
Step 11:
- The monitor is mounted. You have to be careful when you dismount the LCD panel from the original monitor frame. Again, take your time, and you will be fine. I tested the monitor before I mounted the center console back in the car.

- Final result. There was some space between the center console and the radio unit that I didn’t like, but I used the original frame that the radio shipped with. It worked for me.
Ambitna realizacja – jestem pod wrażeniem 🙂
Dzieki. Bylo wtedy troche stresu jak pierwsze ciecie robilem, ale jakos sie udalo.
Thanks. I was stressed, when I made a first cut, but it went well..