A few years ago, I got the idea to build an RC Snow Plow Robot with an FPV camera, lights, and night vision. There aren’t many of those out there, but a few videos on YouTube were enough to get me inspired. Of course, welding is not my best skill, so I decided to design one using plywood. This was the first prototype, and I’ve learned a lot while building it.
Step 1 – The idea and main parts
The chassis will be made from plywood, using industrial bearings, wheelbarrow wheels, 2x 24V wheelchair motors, and 6 12A 12V batteries. Here is the parts list:
- 18mm wooden planks – I used “hobby plates” instead of plywood
- M20 threaded rods for axles
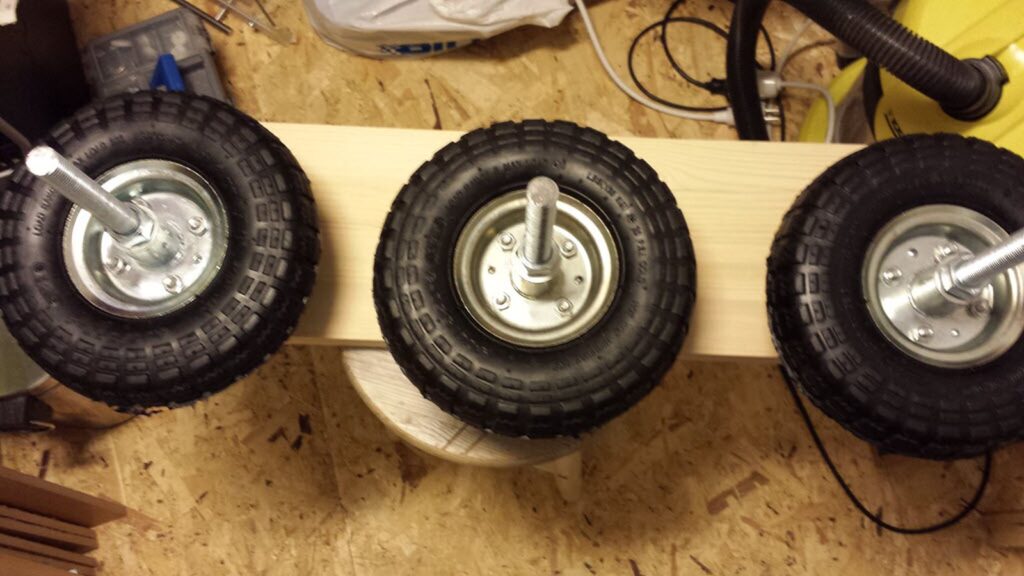
- 6x 260mm (4.10/3.5-4″) wheels with 20mm axle
- 12x UCS204 bearings for the wheels
- 2 wheelchair motors – 24V 350W geared motors
- 2x 12V batteries (using 2 batteries for now)
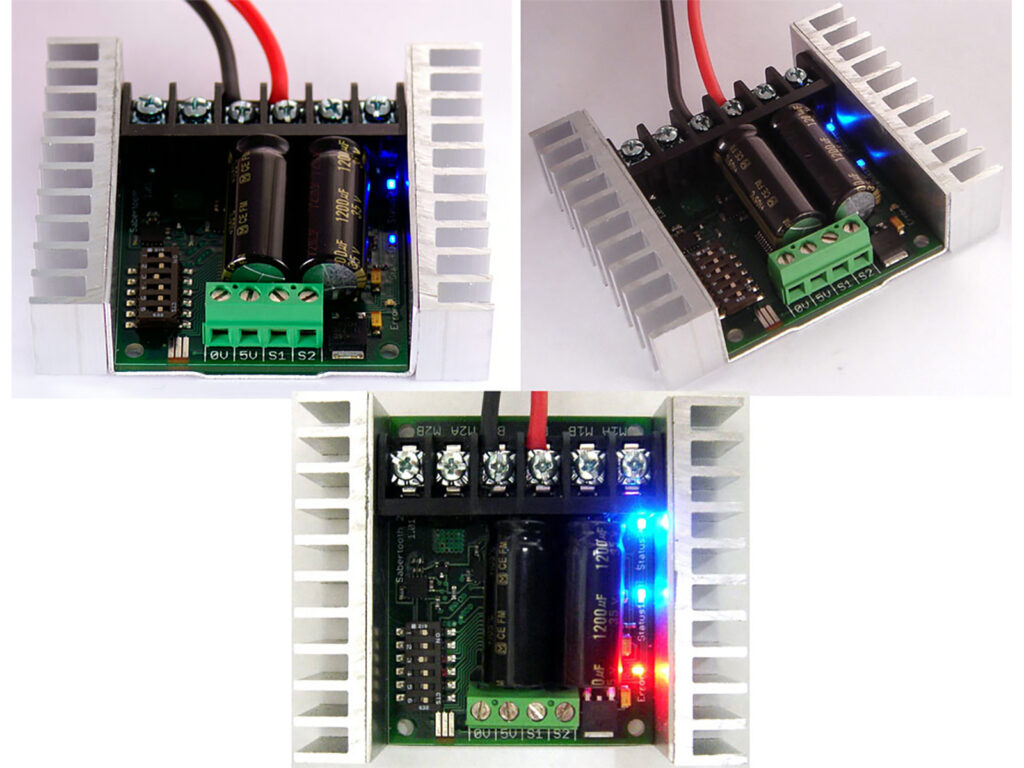
- Sabertooth dual 25A motor driver with RC input
- RC tx and rx – Using Graupner MX-20 from my multirotor
- Screws, nuts, washers, etc.
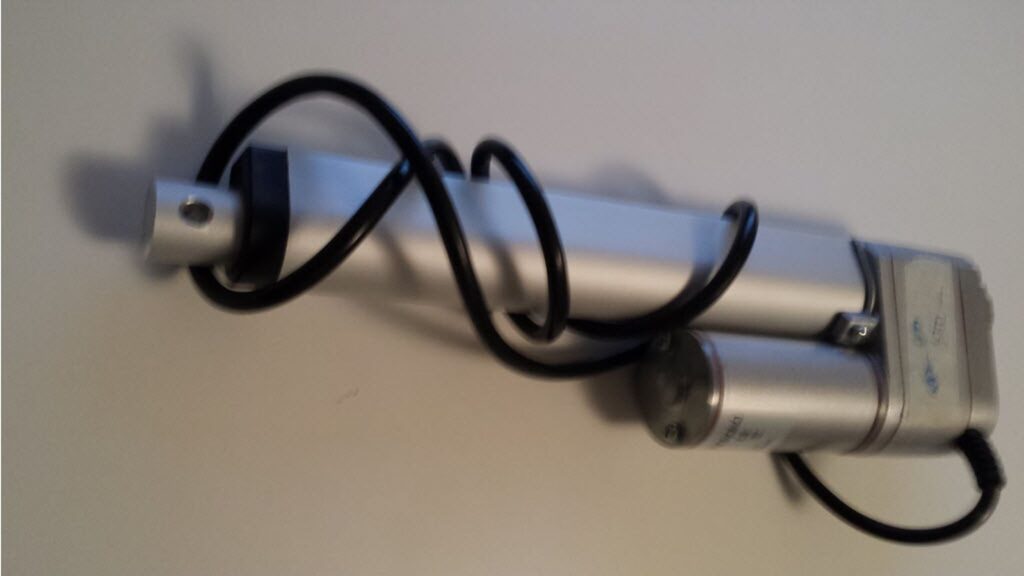
- 3x linear 24V actuators
- Ø600mm PVC pipe as plow (cut in half)
- Bicycle sprockets & chains
- Bolts and screws
- 3x linear actuators bought on aliexpress.com
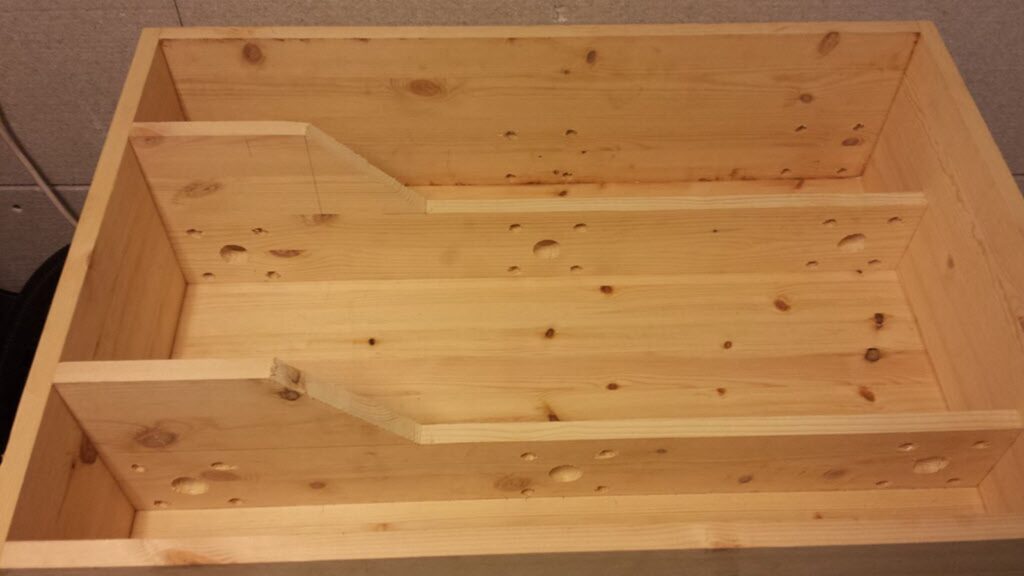
Step 2 – Building chassis
I used hobby plates instead of plywood as I don’t have a table saw yet. I started by building a main box. First, the side walls.
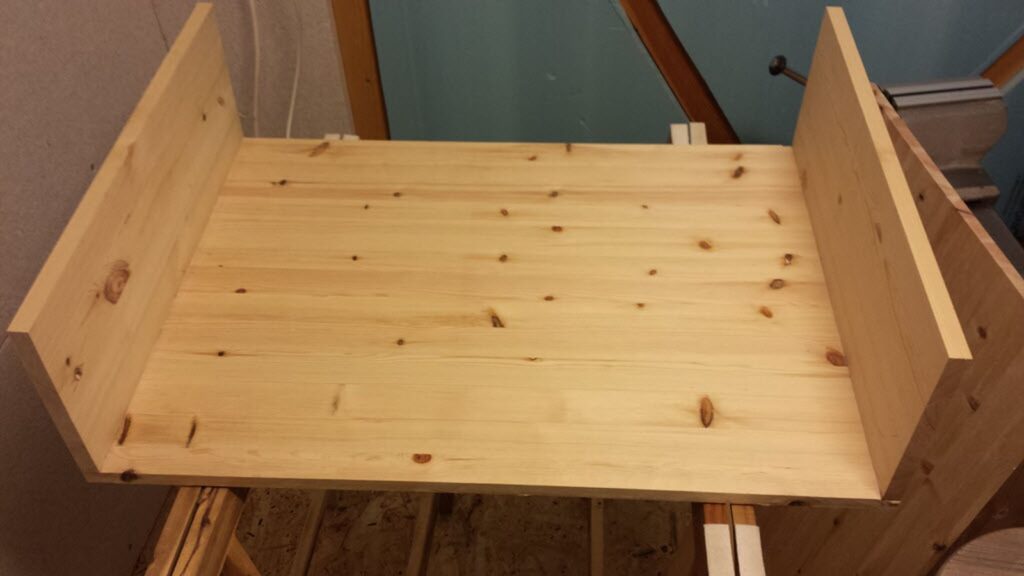
Yes, I know, there are better methods of joining walls to the bottom.
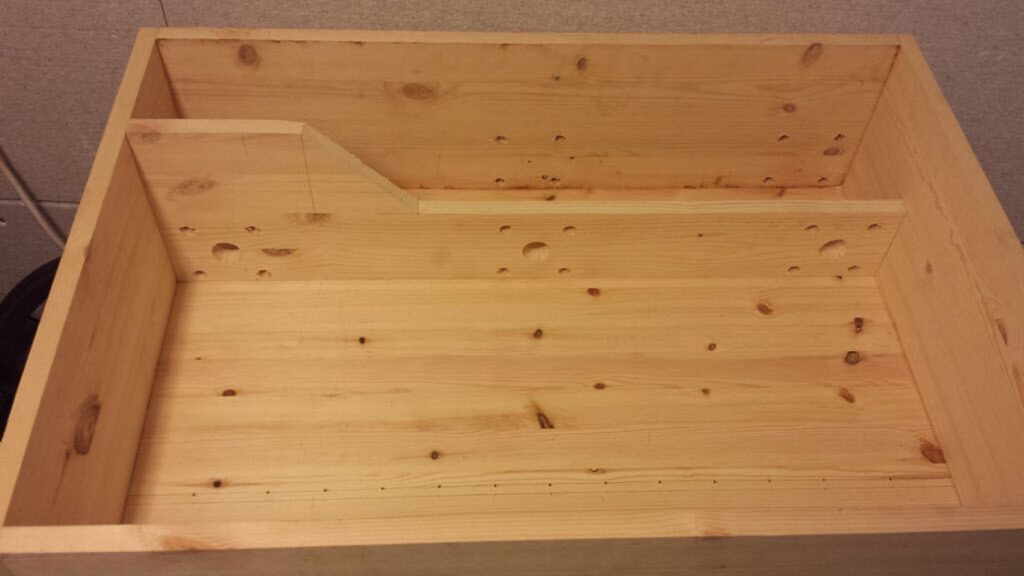
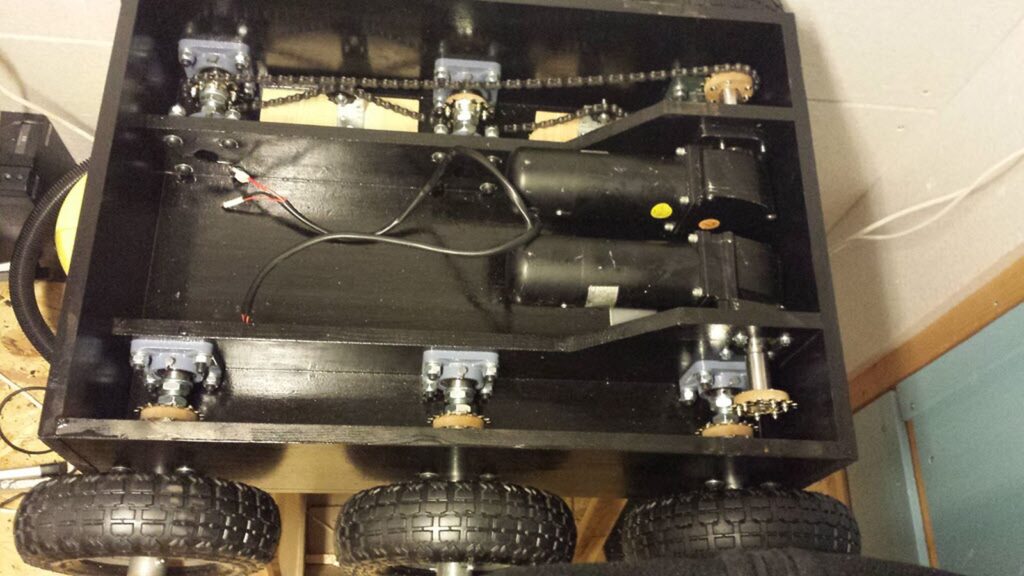
Inside walls for inner bearings and motors.
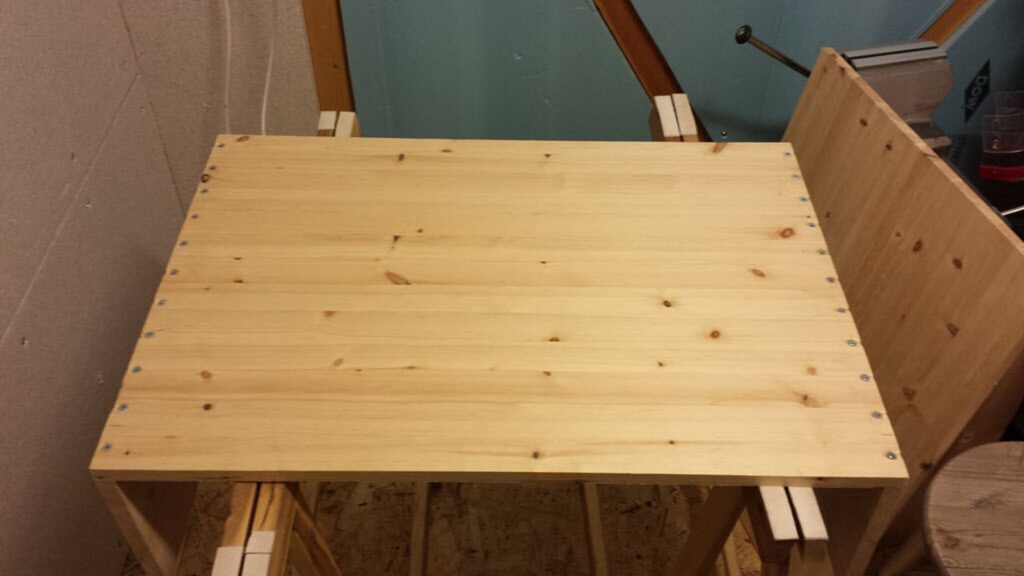
Second wall.
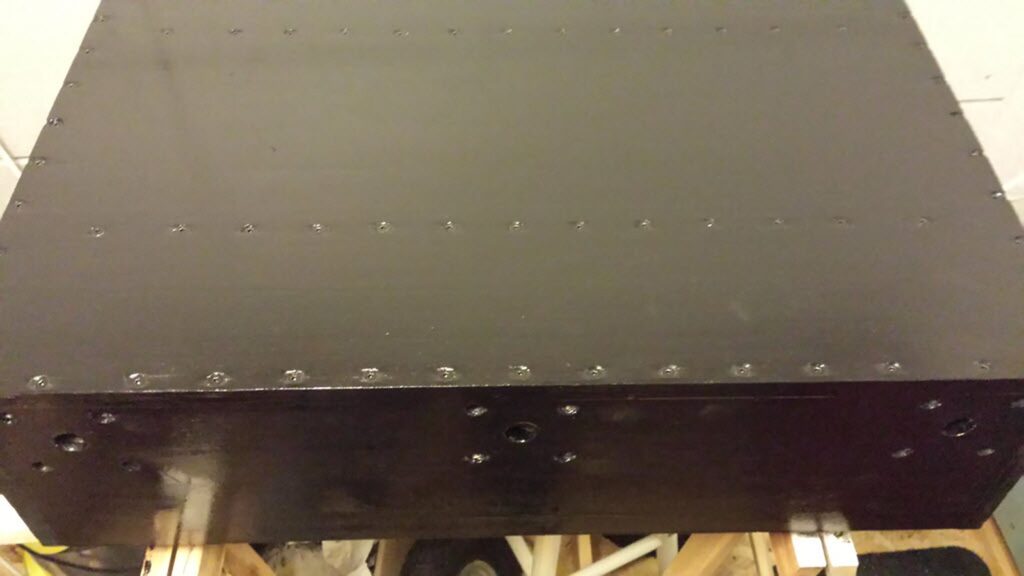
Painted chassis outside.
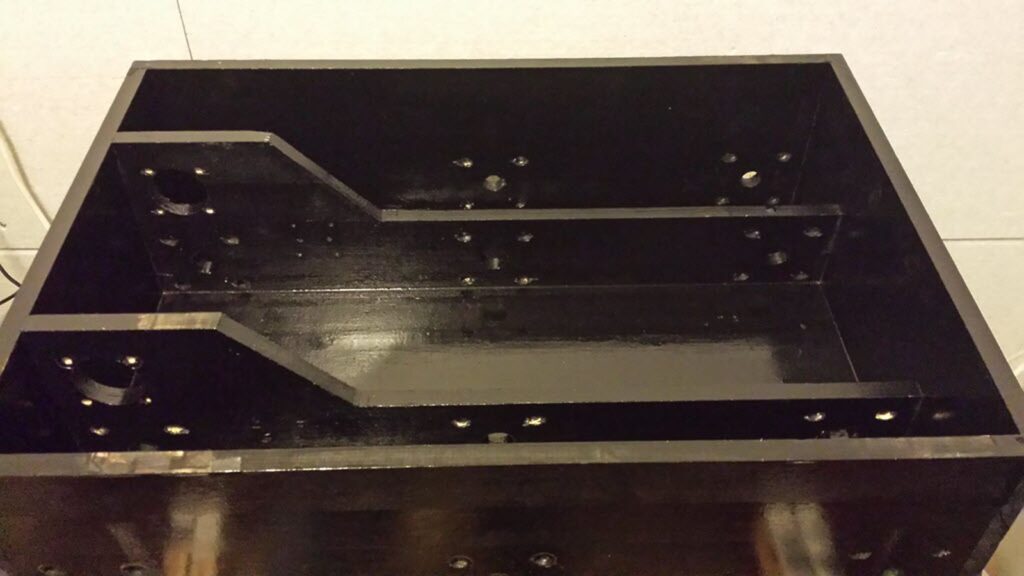
And inside.
Step 3 – Assembling driving parts
I used UCS204 bearings and M20 threaded rods as axles.

The wheels come with bearings inside. The idea is to mount M20 threaded rods on the wheels so the axle can spin on the bearings.
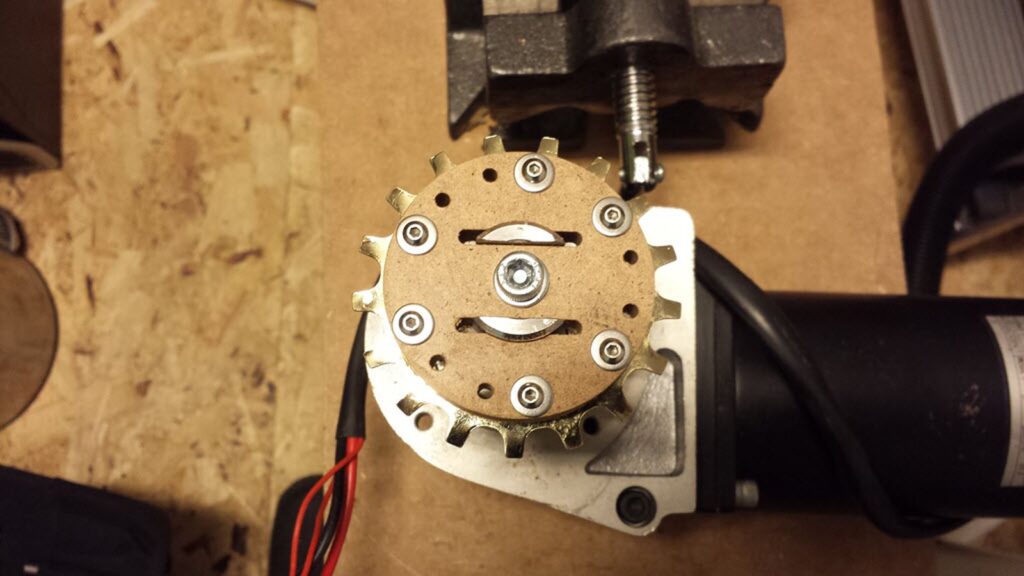
The adapters for bicycle sprockets are cut out of MDF on my CNC router.
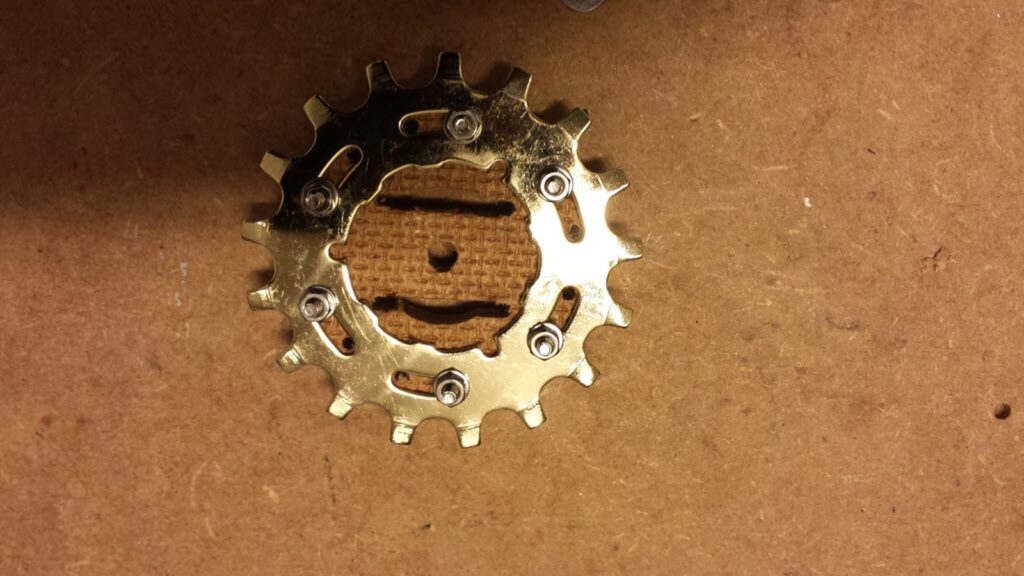
Adapter mounted on the motor.
Same story with the adapters for wheels. You can see there is a hole for an M20 nut. I thought I’d try to force an M20 nut on the rod and secure it with locking nuts on each side. From a mechanical point of view, the idea should work, and it did. The only issue I had was the space around, which made it difficult to tighten the nuts
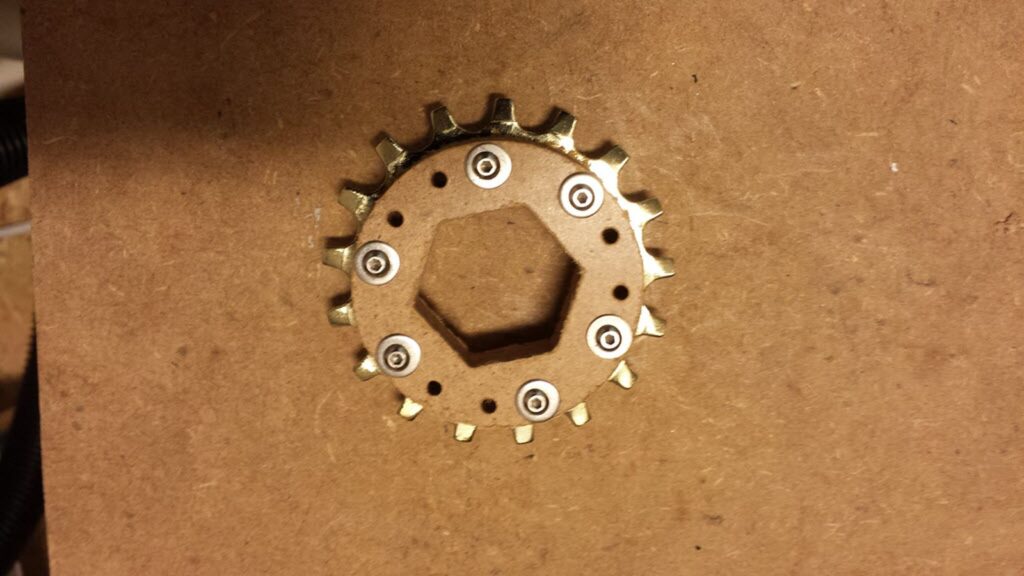
Adapter mounted on the axle.

Motors, wheels, and chains are mounted.
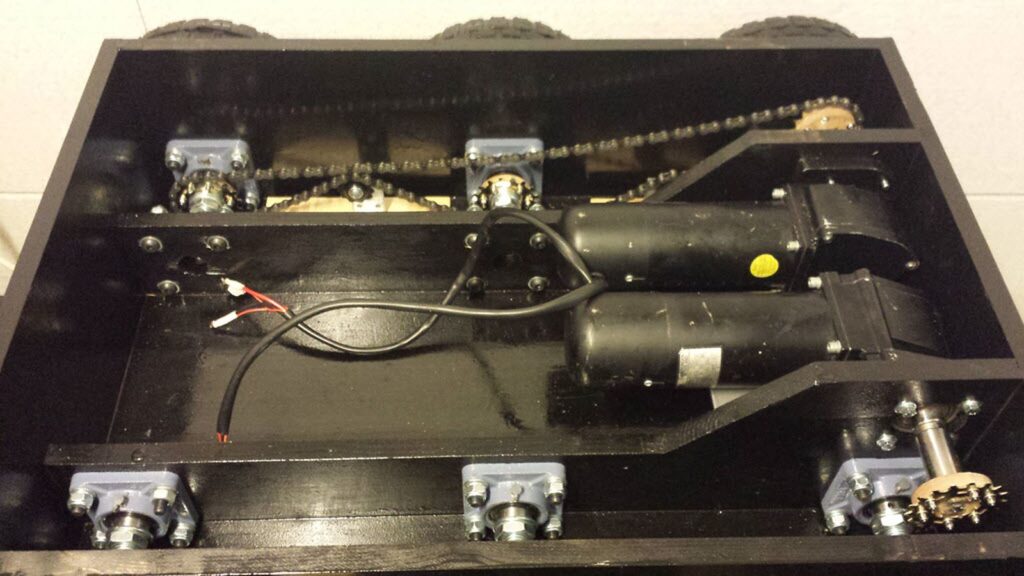
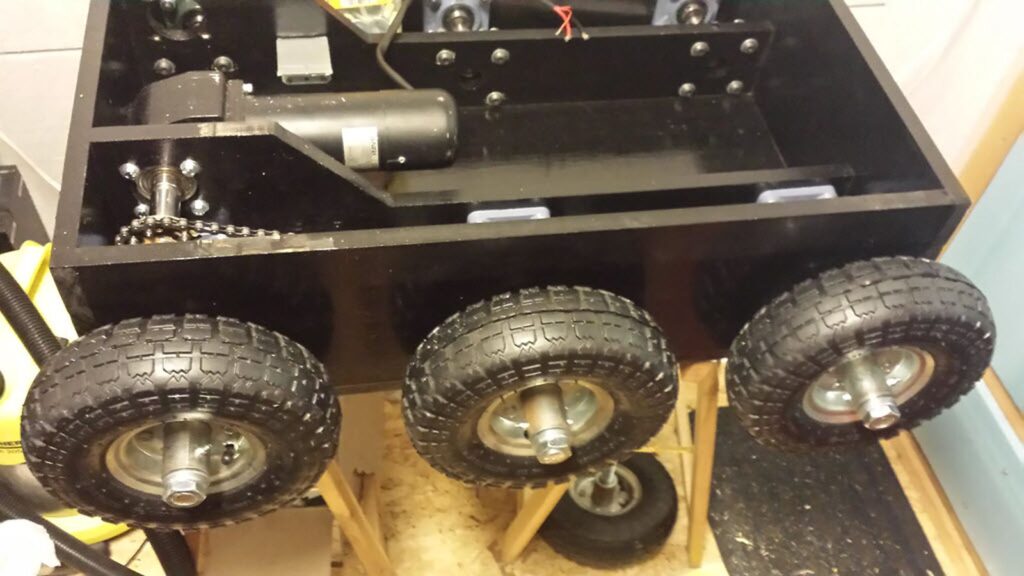
The chain in the picture is a little bit loose, but I fixed that by installing chain tensioners.
Step 4 – Electronics
I am using the Graupner MX-20 RC system together with the Sabertooth dual 25A motor driver.
One linear actuator will be used for lifting, and two for rotating left and right.
Step 5 – Testing drive system
It is time to test the drive system. The chains are making a lot of noise, but everything works as it should.
[mom_video type=”vimeo” id=”103018663″ width=”746″ height=”502″]Step 6 – The test run
The big moment. Test run. The batteries are a little bit flat, but I still could test the robot.
[mom_video type=”vimeo” id=”103018814″ width=”746″ height=”502″]Step 7 – The conclusion
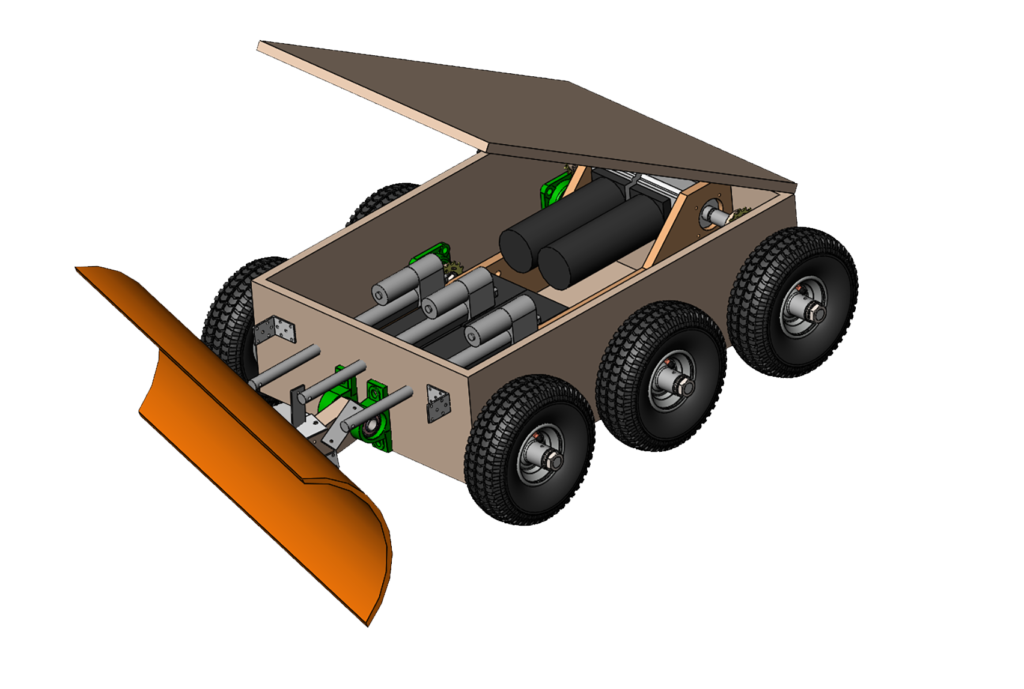
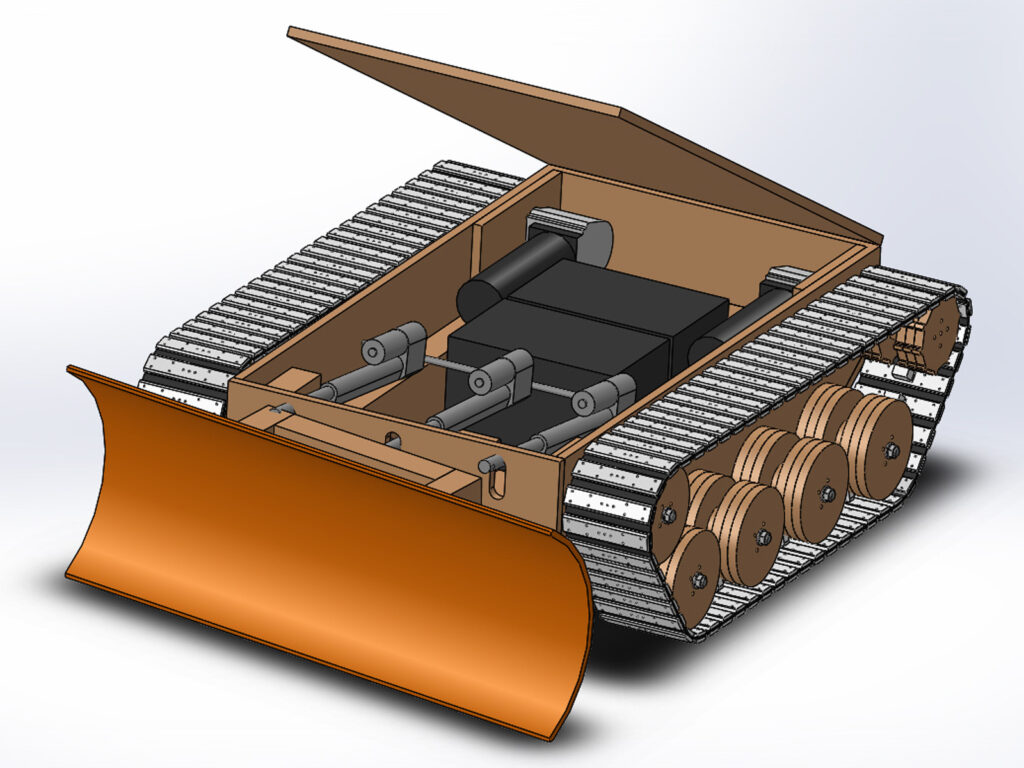
After the test run, I realized that one bicycle chain driving all 3 wheels is not a good idea. Everything worked fine when I was driving back and forth, but when I tried to turn, the loads on the chain were too much, and the chain kept falling off the sprockets. I tried to tension the chains even more and tried several other tension solutions, but nothing helped. I could replace one long chain with 3 short ones, moving the motors to the middle and trying that, but at this point, I already had another idea. I was disappointed that the chains performed so badly, but at the same time, I was happy with the result. It was my first custom-made RC robot, and I learned a lot in the process of creating it. The first prototype of the 6×6 wheel drive RC snowplow robot was scrapped, and I went back to the drawing board (SolidWorks) and designed a new one with custom-made belts. The design looks like this, but it will take some time before I build it.
hey! cool project you got here.. funny thing, i’ve been gearing up to make something of this sort, and it seems like we’ve hit the exact same parts (wheels, motors, motor driver). Also found it really cool from you that you posted the conclusions on the first design.
i’ve a few questions, though:
1. i’ll be using 16mm shafts, and can’t find any sprockets that would fit. your solution would probably do the trick, but can’t find any sprockets of that sort, could you link them, please?
2. since we’re using the same wheels (but mine still are on the way), would you be able to share a bit more details on the size of the frame you used? – btw, have you tried to run the first design on snow? how did it go? are the tires ok or are they too slippery?
3. do you have any details on the mechanism that you’re using for the plow? i’ll be just using one actuator to raise/lower the plow, but want to have the angle to both sides (manually). any pics/video of that part?
that’s all.. would be great to see the upgrade you’ve done to use threads instead (i love treads, but couldn’t find anything ready out of the box for this purpose)..
Hello Ricardo.
1.
The sprockets I used was regular bicycle sprockets (one of 8 sprockets from Shimano rear cassette. I think it is from older type of Shimano gears system. I got the from my local bicycle repair store.
I custom made MDF insets on CNC to compensate for my threaded rod.
Se this image: http://martinsplayground.com/wp-content/uploads/2017/02/rc-snow-plow-6×6-wheel-drive-v1.0-13-746×420.jpg
This Idea worked great, but you need to drill a pin through the shaft, I my case the I secured it bu tightening the bolts, and the forces on the drive shafts is too big and the nuts get loose over short time. The local machining forum, maybe someone could make some inserts for you.
To be honest, Try using timing belts and pooleys instead. Getting reinforced composite timing belt and pulleysis much better alternative.
Use T5 timing belt or bigger.
2. The wheels are 260mm 4,10/3,50-4″ with 20mm shaft capable of 136kg load. The wheels are 2 bearings inside, which you can replace with inserts for your 16mm shaft. For the shaft use CNC shaft. You can get it on Aliexpress for little money.
I haven’t tried my robot on the snow, as I quickly decided to go for track version. It was plan from the beginning, but in the mean time I sold my first CNC machine, so therefor had to try with the wheels. I think the tires may be slippery, but you can always put some chains on them.
The frame is 520x775x220 18mm thick. Next project, I will use water resist plywood.
3. I haven’t designed the mechanism 100%, as I am waiting for my CNC to be ready. I home I am done with it in couple of weeks.
I will post the update as soon as I have one. My projects are slow, so be patient…
Martin