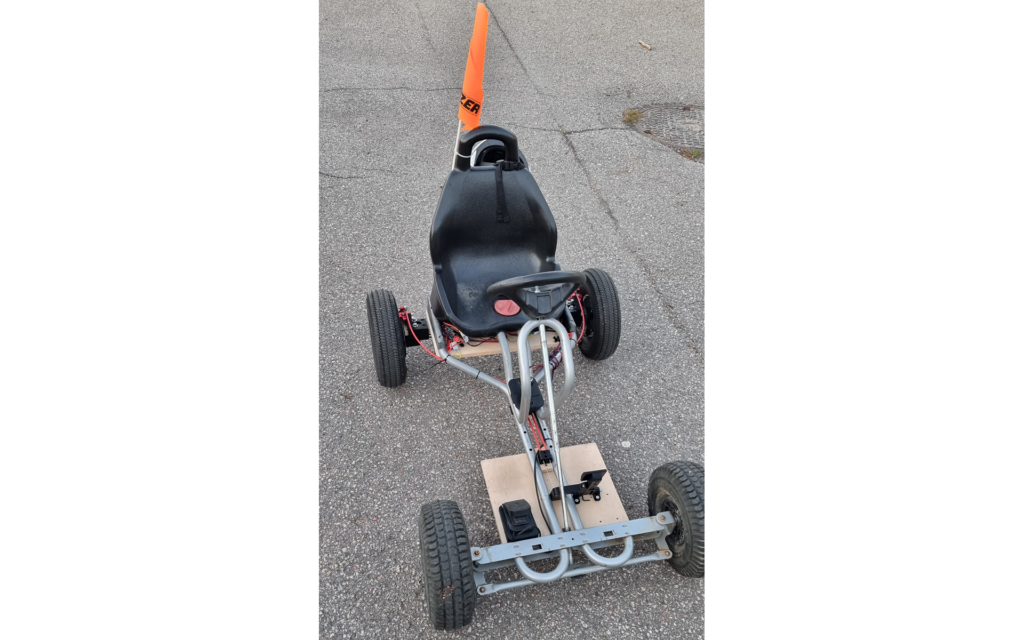
When I was a kid, I always wanted to have an electric car.
Back in the day, it was impossible to get cheap parts to build one.
For me, it was a dream, but for my kids, this is reality.
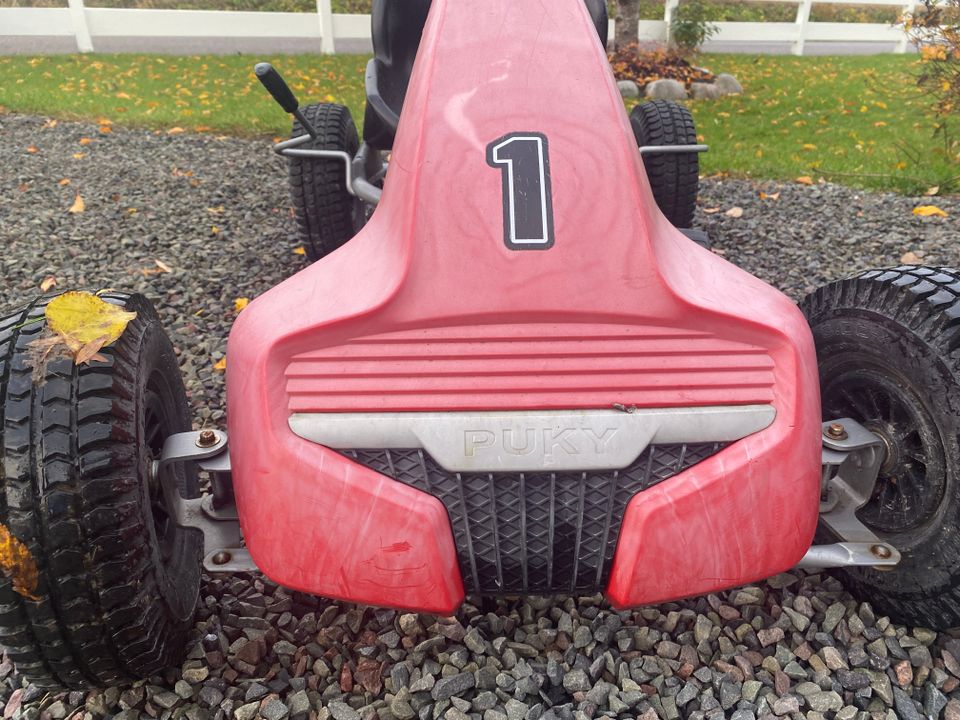
I went online and found a used Puky pedal car/go-kart.
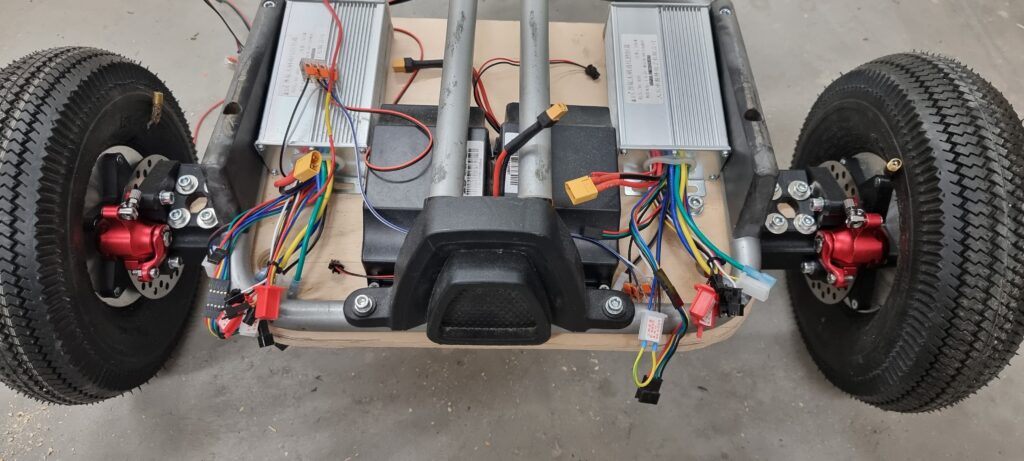
First, I wanted to use one motor on an already existing axle, but then I had to use a hand brake, and the Puky car did not have any bearing on the back axle.
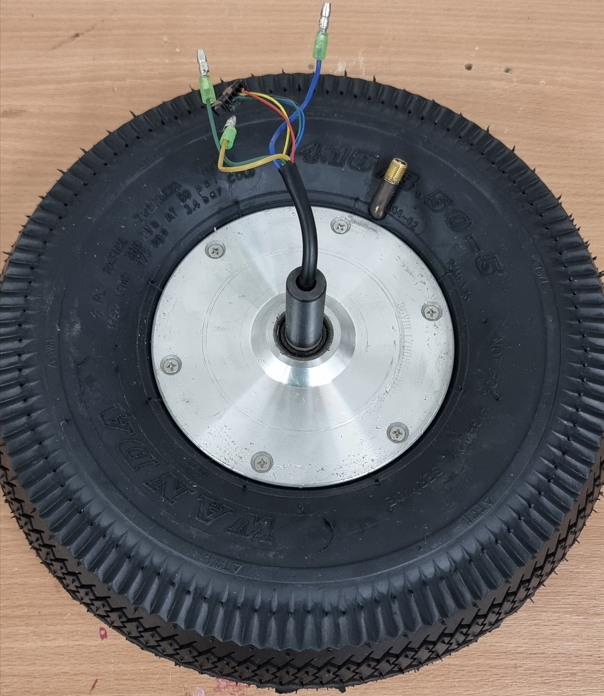
So the idea then was to get hub motors or wheel motors and put them on instead of the back axle.
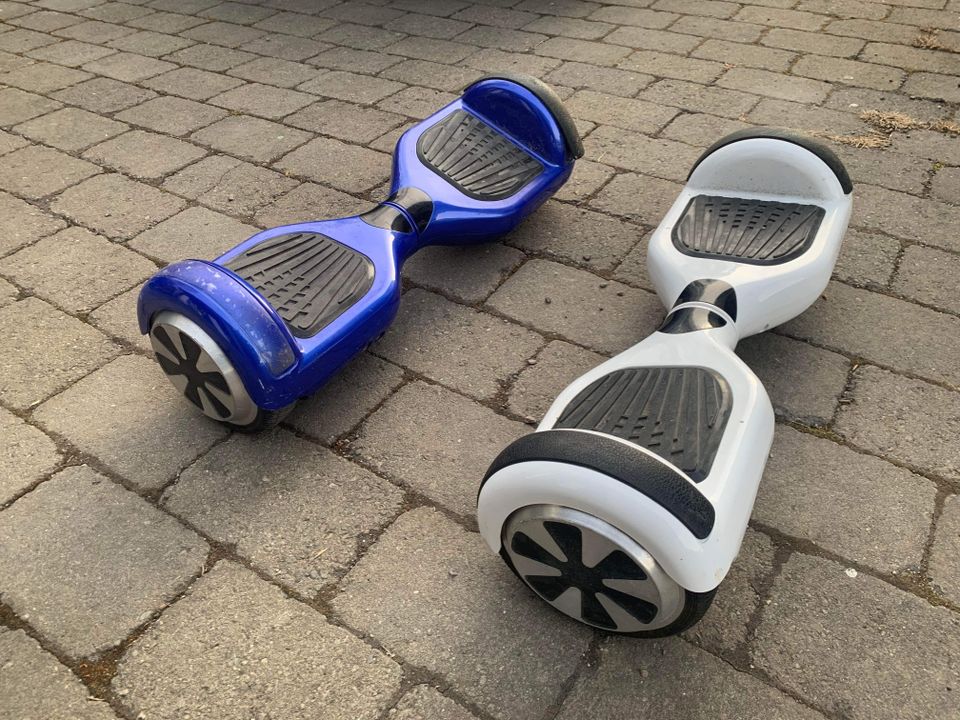
I found a video on YouTube where someone had used hoverboard motors with bigger tires. I decided to try this approach.
Let’s start to build a prototype.
Parts Needed
- 1x Pedal Car / Go-Kart -> $50
- 1x or 2x Hoverboard (2x for 2 batteries, but one works fine) -> $25
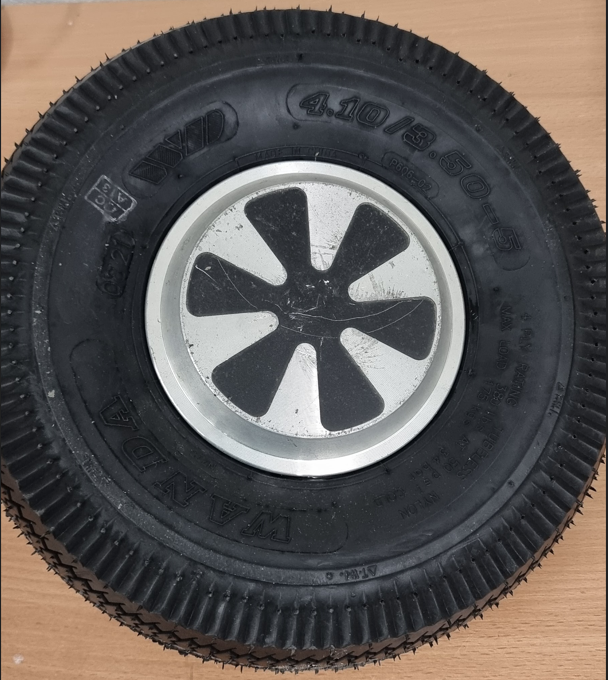
- 2x 4.10/3.50-5″ with tube -> $70
NB! Norwegian Shops:
https://www.gummidekk.no/produkt/4-10-3-50-5-hf-201-trillebar-tralle/
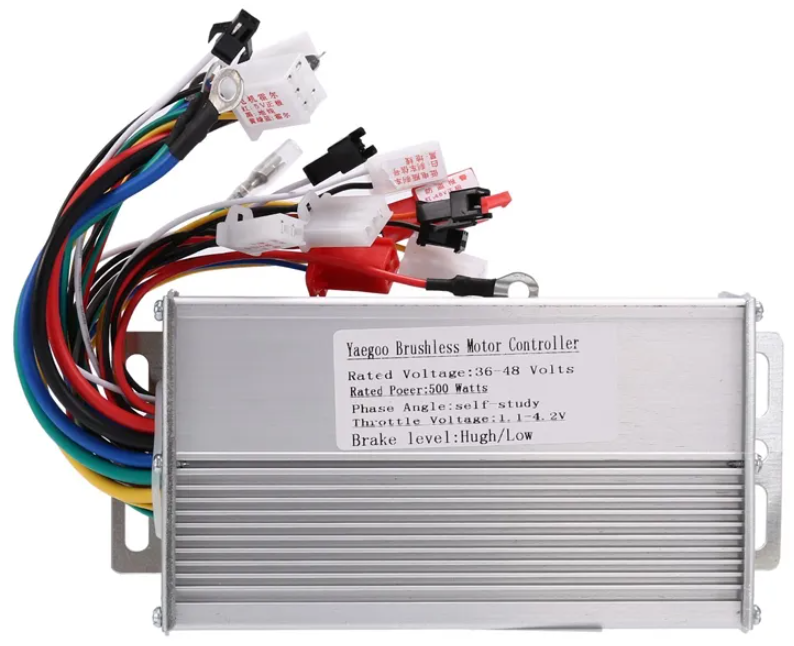
https://www.gummidekk.no/produkt/4-10-3-50-5-slangeventil-type-tr-87/ - 2x 36V-48V 500W DC Brushless Controllers -> $43
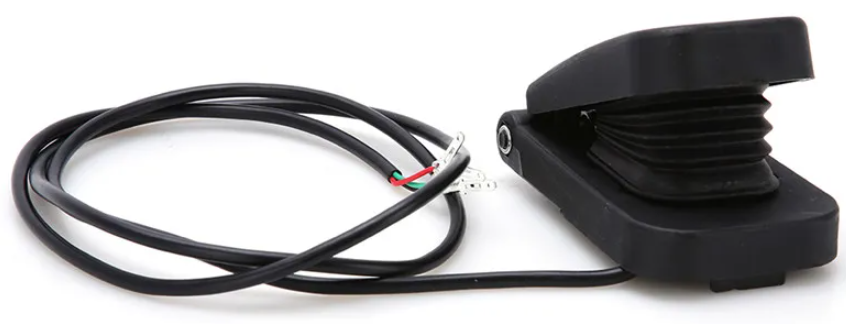
https://www.aliexpress.com/item/1005004399406788.html - 1x Throttle Pedal -> $20
https://www.aliexpress.com/item/1005001664654657.html - 1x Switch for direction control -> $5
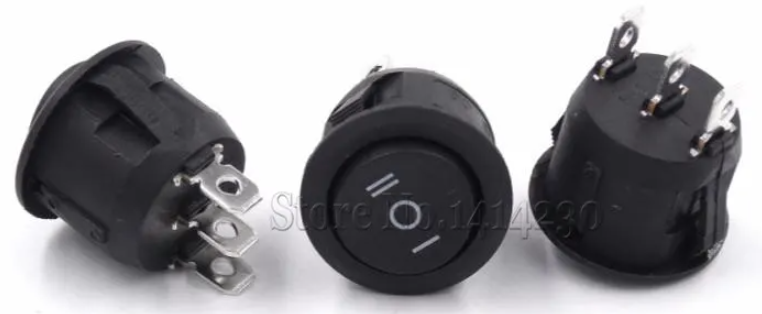
https://www.aliexpress.com/item/33031451538.html - 1x Switch for On & Off control -> $2.25
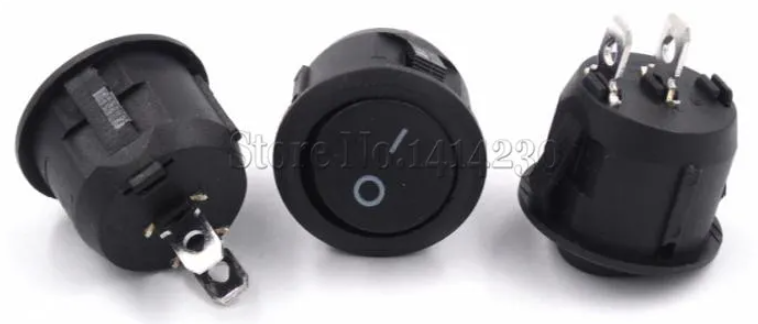
https://www.aliexpress.com/item/32457872354.html - 1x Switch for Speed Control -> $2.25
https://www.aliexpress.com/item/32583444916.html - 2x 120mm Disc Brakes & 1x Left & 1x Right Disc Brake Calipers -> $30
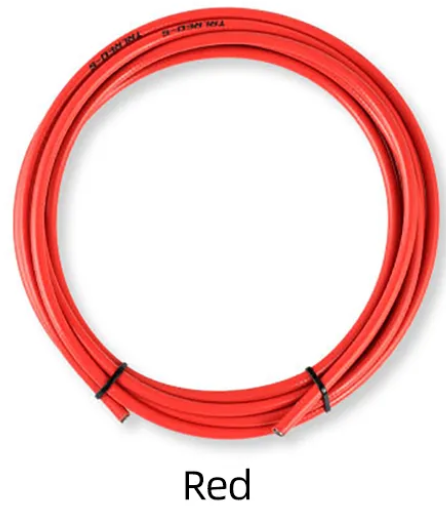
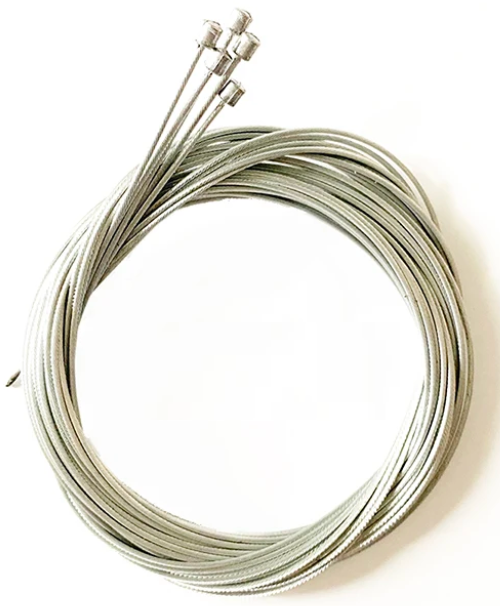
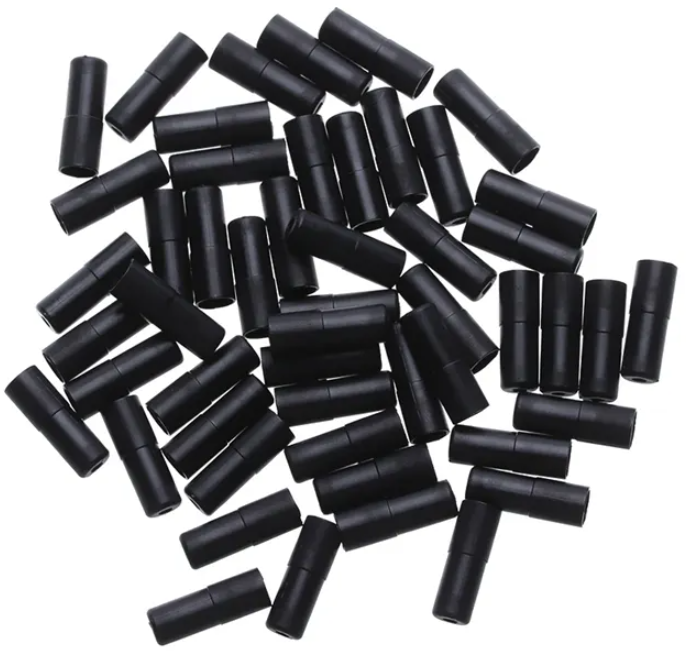
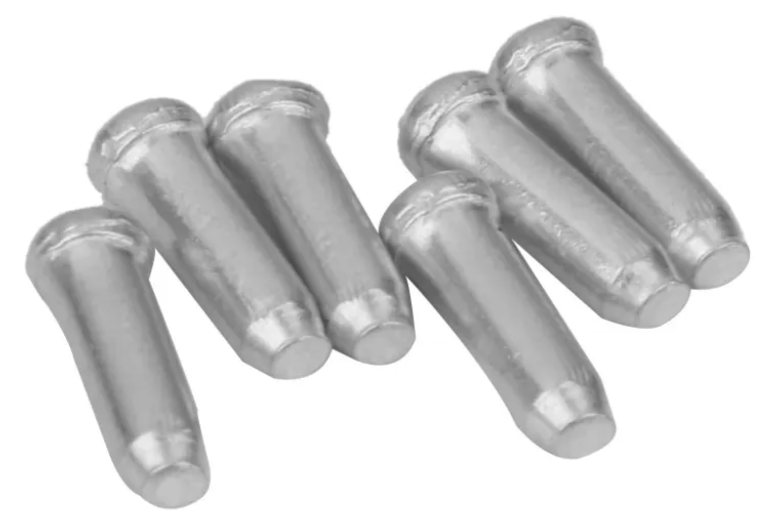
https://www.aliexpress.com/item/1005003267500398.html - 2x Disc Brake Cable Tube & Endcap & Brake Wire -> $19
https://www.aliexpress.com/item/1005005300658449.html
https://www.aliexpress.com/item/1005002313514195.html
https://www.aliexpress.com/item/1005004363782170.html
https://www.aliexpress.com/item/1005004200186553.html - Wires -> $20
- Bolts, Nuts & Washers -> $10
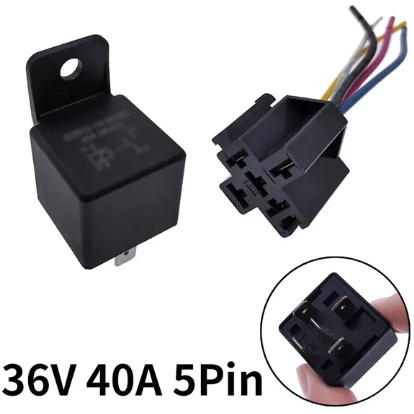
- 1x 36V 40A 5pin relay -> $6
https://www.aliexpress.com/item/1005001398781987.html - LED Lights Red & White -> $12
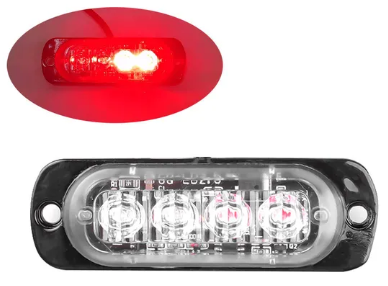
https://www.aliexpress.com/item/1005003476287993.html
I spent total of $315.
Sorry, I didn’t document everything so well.
One thing worth mentioning: the tire can be a little bit of a pain to get on the hoverboard motor.
Use trim inside of the tire and use soap.
You need to drill a hole in the side of the tire to pass through the air valve.
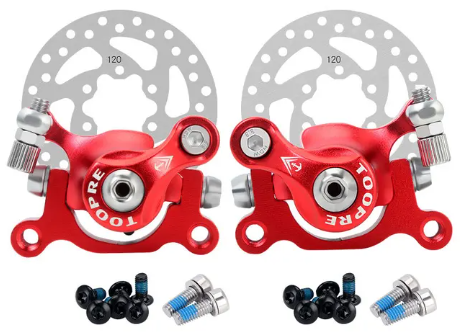
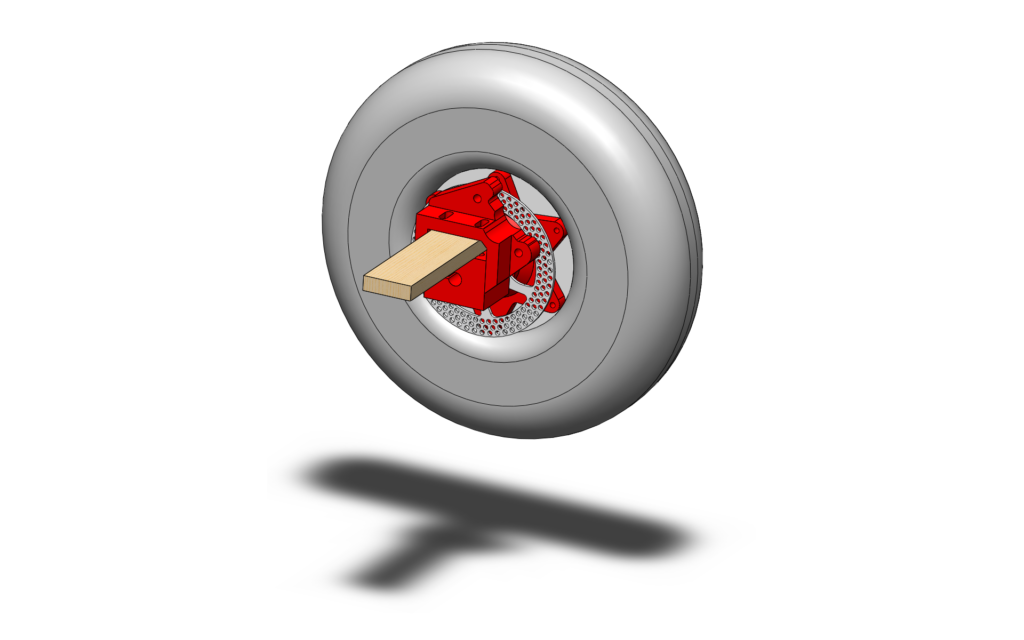
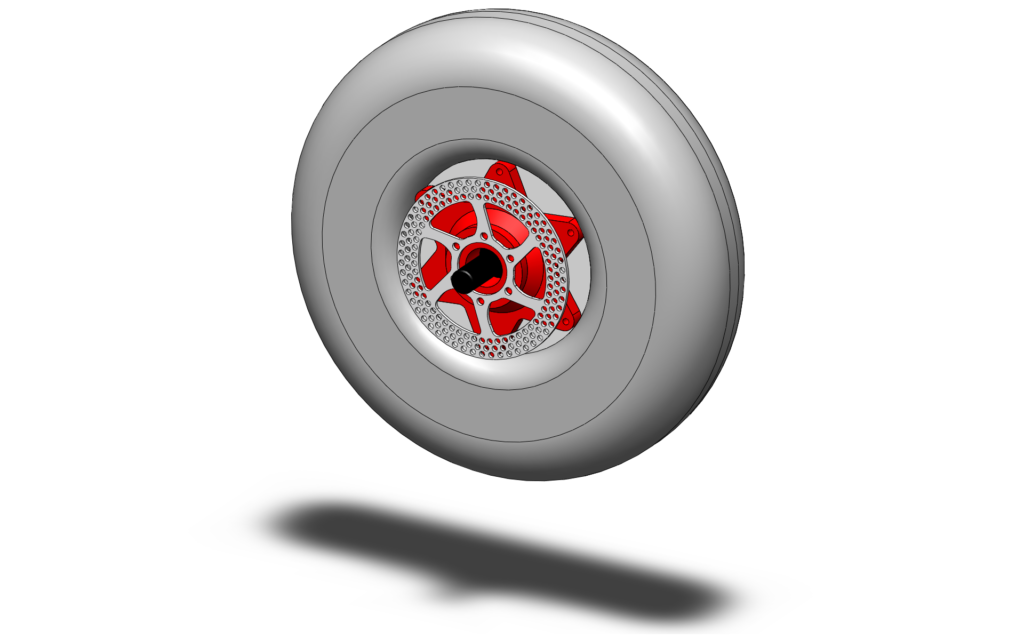
The Brakes
Using electric motors from the hoverboard, I had to remove the handbrake and mount disc brakes. The handbrake was only on one wheel and it did not fit properly.
The car has more power now and more speed. This requires better brakes. Disc brakes were the best option.
I wanted to buy hydraulic disc brakes, but I could not find cheap Left and Right hydraulic brake calipers. So I used disc brakes with wire.
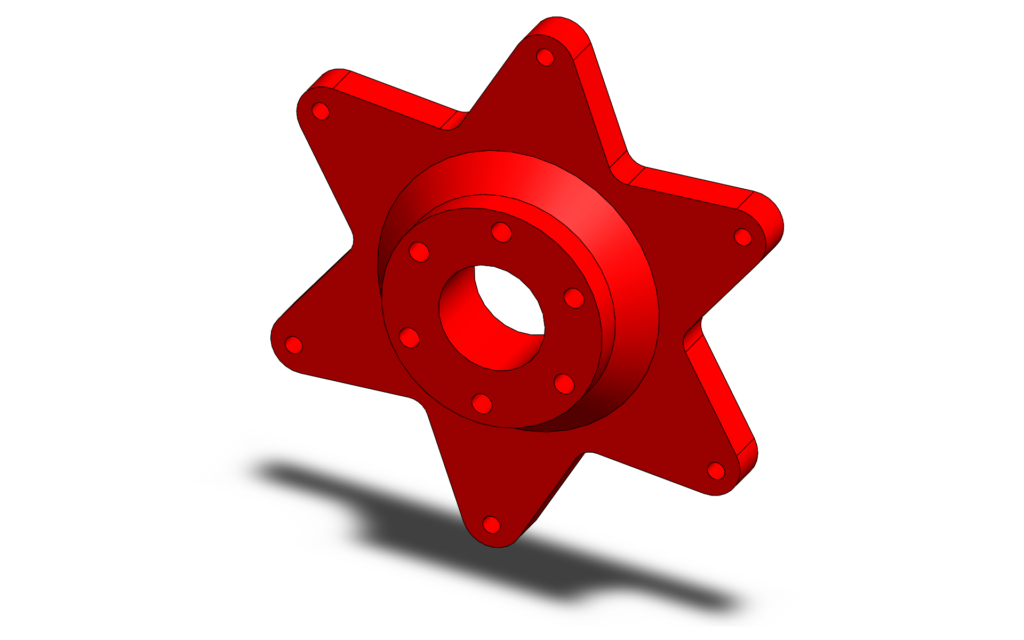
I designed the adapter for disc brakes that fit on the hoverboard motors and the adapter that holds brake calipers in Solidworks
After that, I printed everything on my Prusa Mk3S+ 3D printer.
You can download the models by clicking the links below.
Please, remember to like and rate the models.
![]()
Disc Brake Adapter For Hoverboard Motors:
https://www.printables.com/model/613399-disc-brake-adapter-for-hoverboard-motors
![]()
Disc Brake Adapter For Hoverboard Motors:
https://grabcad.com/library/disc-brake-adapter-for-hoverboard-motors-1
The Dashboard
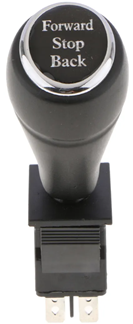
Since I got a cool switch for direction control that looks like a gear leaver from the car, I designed and 3D printed plate so I could mount all 3 switches on it.
The first switch is an On & Off switch to turn the car on and off.
The middle switch is for direction control ( Forward and backward).
The third switch is for speed control. Slow, Normal, Fast.
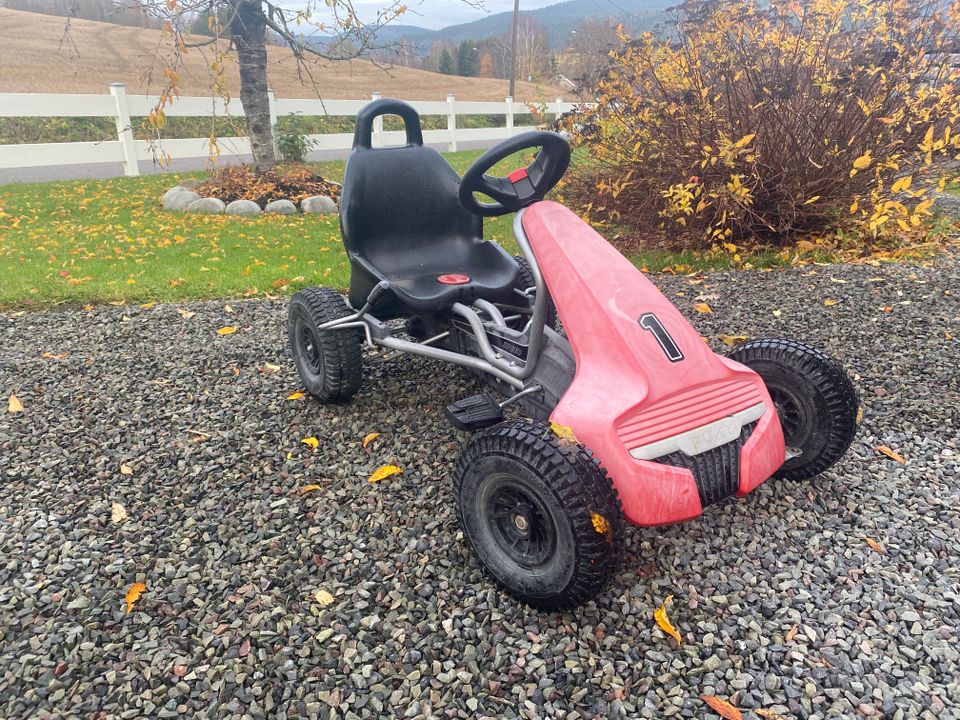
The Prototype is finished
I finished the prototype.
There is still some more work do to. New paint, LED Lights, shorting back axle so the wheels are closer to the frame etc.
I will continue to improve the car over the winter of 2023/2024.
More update is coming soon.
Images from the build